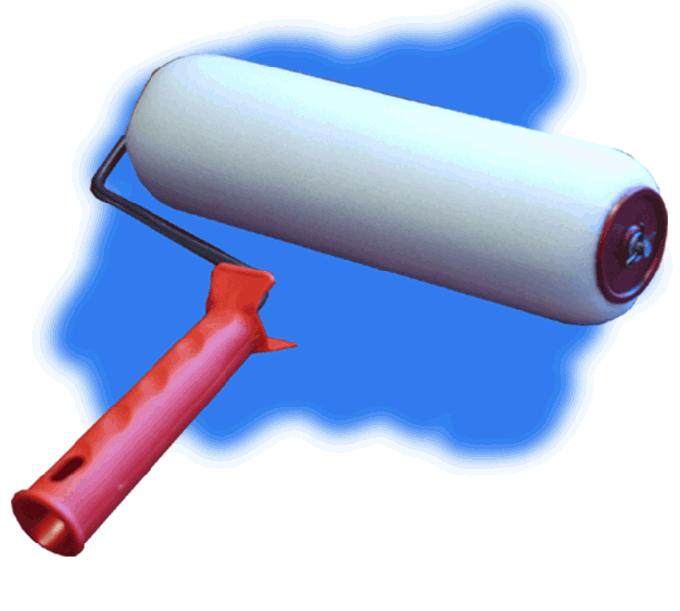
You will need
- - a small roller with a large NAP
- - large roller with medium pile
- - cuvette for paint
- - pin (the shaft for the rollers)
- - brush
- paint
Instruction
1
Cushions are big and small, with long hair and quite short. For painting ceilings suitable rollers with a medium NAP. They absorb enough paint to at one time to cover the area of the ceiling in 1Q.m.
2
Before painting the ceiling, do the preparatory work. If the ceiling were covered with whitewash, dilute it. If the ceiling was painted with latex paint, then wash it with warm water. If the ceiling were pasted Wallpaper, soak them and remove with a spatula.
3
After you've cleared the ceiling of the old finish, look for cracks, pits, and irregularities. If such errors are available, then fill these places with mortar or putty. Then the entire ceiling Proskura and primed with primer. Once the ceiling is dry, you can begin to paint. For painting the ceiling, use a roller with a pin (the shaft for the rollers), it will help you to do without a ladder.
4
Ceilings begin painting from a corner, which is closer to the window, and gradually go deep into the room. An important element in painting a ceiling is its junction to the wall. To paint over the abutment, use a small cushion 5 cm with a long NAP. Carefully paint mascara on the corners of the ceiling. For this purpose you can use the brush. Dip a small roller into the cuvette with the dye, break it on the mantle, so that it is not too wet, and brought it to the perimeter of the ceiling. Forth with little effort guide roller left to right. Do not try to paint over the entire perimeter at once. Do it when painting the wall.
5
The main area of the ceiling perform a large roller with medium pile. Dip it in the cuvette with the dye and press the mesh in order to paint evenly distributed on the surface of the roller. Then hold it close to the ceiling, but do not try to keep it directly over your head. Mentally give yourself the sector is equal to 1.5 square metres and begin to apply the paint in parallel strips, uniformly colouring the surface. Apply the next strip so that it overlaps the previous one. Then this sector along paint mascara on, this will help to avoid neprokrasy surface.
6
Try to paint the ceiling carefully, avoid gaps, otherwise it will affect the final result. The ceiling will get patches to correct this defect would be impossible.
7
During operation, do not press hard on the roller. Try to distribute the paint evenly to avoid drips on the surface of the ceiling. If, however, excess paint was formed, then blend it in different directions.
8
The ceilings are painted 2 or 3 times, it depends on the quality of the paint. After the first painting of the ceiling allow it to dry. At the paint it's written, how long it will take to dry the surface. Then paint mascara on the ceiling the second time, but in the opposite direction, that is from the depths of the room to the window. If you did your job correctly, then only two times for painting the ceiling.
