You will need
- - Photoshop;
- photography;
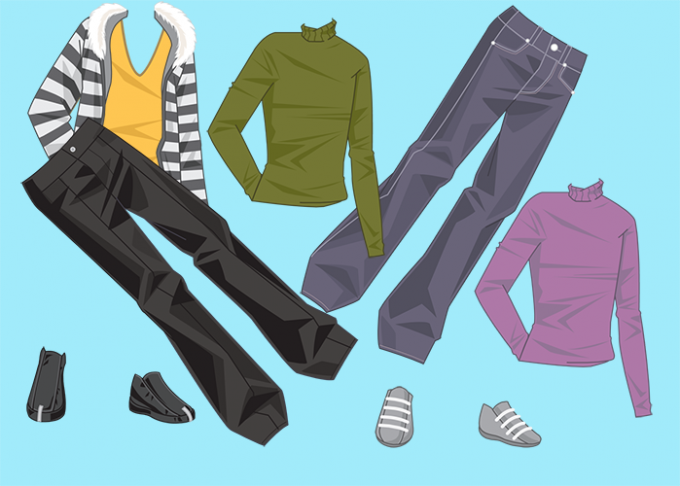
- template of clothing.
Instruction
1
One of the secrets of successful dressing means Photoshop is a combination of the original images. Pick a template best suited for the poses of the model in the picture.
2
Using the keys Ctrl+O, download Photoshop photo and file clothes. If you got the image in png format with several items of clothing, copy each one on a separate layer. Turn on this tool Lasso (Lasso) and draw with it the region containing the object. Typically, these clothing sets are on a transparent background and you do not need to create an accurate selection. Ctrl+J create a new layer based on selection. Paste into new layers in the same way other items of clothing.
3
Go to the layer with the garment, which is going to impose on the photo. Applying Ctrl+A select all contents of the layer and copy Ctrl+C the selected item of clothing. Go to the window in which you opened the picture and paste it over the copied image. Apply for this Ctrl+V.
4
Option Free Transform ("Free transform") Edit menu ("Edit") get the dimensions of the inserted image to the size of the shapes in the photo. The same options can, if necessary, to rotate the attached picture. To move the content layer, turn on the Move tool ("the Tool"). Customized clothing option can Warp (Distort) the group's Transform (Transformation) Edit menu.
5
If the picture object is present, partially covering the person change clothes, you'll need to restore the visibility of the object. To do this, temporarily turn off the layer with the clothes and highlight the subject by Lasso tool or the Polygonal Lasso ("Polygonal lasso"). Copy the selection to a separate layer and place it on top of the layers palette. Turn the visibility of items of clothing, in order to evaluate the result.
6
It may be that the object whose visibility you had to recover, cast a shadow on the figure. To recover that shadow on new clothes, copy the layer with the object and make it dark. Apply the Hue/Saturation ("hue/Saturation") group Adjustments (Settings) menu Image ("Image"). To darken the layer, slide the left Adjuster Lightness ("Brightness").
7
Slightly blur the workpiece to the shadow a Gaussian Blur filter ("Gaussian Blur") Blur group (Blur) Filter menu (Filter), put it under a colored layer with the object and move relative to it in that direction, which had offset the shadow on the original picture. Adjusting the Opacity parameter ("Opacity"), make the shadow transparent.
8
Save the resulting image to a file with different name from the original photo, option Save As (Save as) File menu ("File").