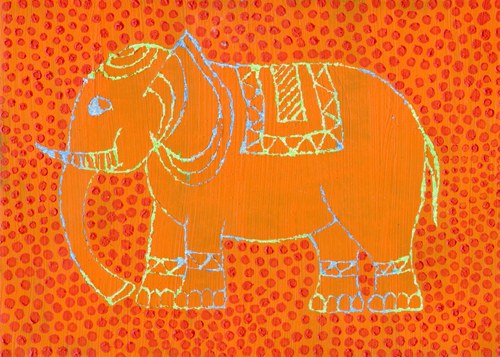
You will need
- - thick cardboard;
- - colors.
- brush, sponge or a cotton swab;
- - wax candle, chalk or white clay;
- - mascara;
- - a pin, needle or nail.
Instruction
1
Apply the cardboard a coat of wax or paraffin. This layer called "primer". It is possible to use not only wax and paraffin, but chalk, white clay, egg yolk. Can use a normal candle. Please note that "primer" should be applied evenly over the entire area of the picture, or the engraving you will not succeed.
2
Then apply ink or paint. Note: ink will need to apply several layers, as it initially will be hard to go on wax and spread. Each layer needs to dry before you apply the next one. It is most convenient to apply mascara with a wide brush, cotton swab or sponge.
3
Start incised with a pointed object lines and strokes, which will open a color basis. For professional artists sold special sets of cutters and beginners may use a conventional nail, needle, or other sharp objects. Be careful - if you are using thin cardboard, do not use excessive force, otherwise the engraving will break.
Note
Very often the quality of the paint to fill the background use the gouache, but these prints are not very durable, because gouache, over time, blurs and gets his hands dirty. It is best to use acrylic paint: they are very easy to get divorced to the desired consistency, easy to apply, dries quickly, and if you put one layer of acrylic on the other, they will not be mixed with each other and form dirt, as often happens with gouache.
Useful advice
Most often, such prints use white cardboard and black ink, but you can experiment: try to take a colour cardboard instead of white, or a pre-paint white cardboard. Can take ink or paint is not black, and any other or different colors. Can cover the cardboard black light paint. Remember: the more unusual the combination, the more original will result.
