You will need
- - plastic panels;
- level;
- roulette;
- - hacksaw;
- guides;
- - screws;
- - furniture stapler;
- - screwdriver.
Instruction
1
Prepare surface. Wash the walls or ceiling from dust and dirt. Cracked or flaking paint scrape off. Wallpaper re-hydrate with warm water and with a spatula remove. Carefully inspect the cleaned surfaces, if there were any moldy areas. If any found, treat them special antifungal impregnation.
2
Make the crate, which will strengthen the plastic panel. The frame can be constructed from a metal profile or wood. Observe the spacing between the rails. It should not exceed 60 cm in the detection of irregularities on the plane, make a pad under the crate. All lines and angles check the building level. Installing panels in a room with high humidity, don't forget to process the timber moisture barrier primer.
3
Make separate measurement for each plastic panel. Without prior perfect alignment dimensions taken from different parts of the ceiling or walls, can be very different.
4
Cut the panels to size for installation. This can be done with a hacksaw, jigsaw, mounted blade with fine teeth, painting or any other sharp knife. Plastic panels for cutting lay face up. When the need arises to drill a hole in them, do it also from the outside.
5
Attach the first panel with the edge of the wall or ceiling. With the installation of the metal profiles screw the panel with screws flat head, placing them in the lateral grooves. If you are mounting on a frame of timber, use furniture stapler. The second panel is inserted into the groove of the previous one and is fixed on purlin brackets or screws.
6
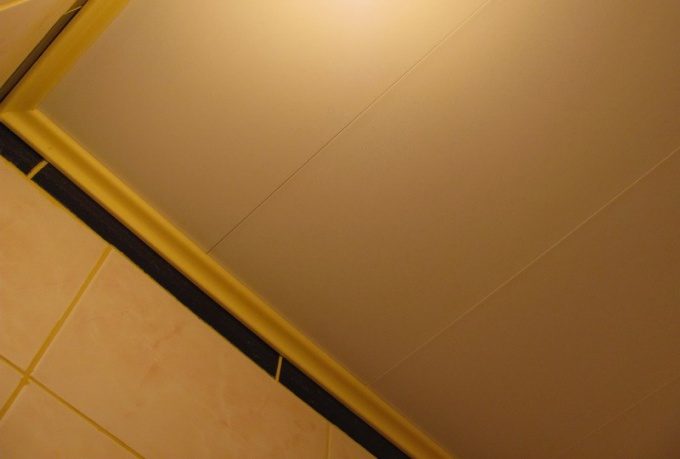
At the final stage of finishing the walls or ceiling of the plastic panels install ceiling moldings. Then all visible joints are neat.
Note
Do not use for washing of the panels abrasive cleaners to avoid damaging the surface. Wipe the contaminated place a soft cloth or sponge with detergent without solvents.
Useful advice
After delivery from the store, allow the panels to be held in premises at room temperature at least an hour before installation.
