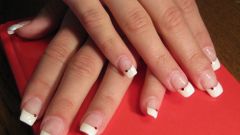
You will need
- Special shapes, shower gel, degreaser, brush, glue for nails, bath for hands, the tool to remove the cuticle, orange stick, scissors, UV lamp, nail files melkoabrazivnymi.
Instruction
1
Remove nail old nail Polish, trim them neatly, leaving a few millimeters, so it was something to strengthen the form. Sawed edges of the nail plate so that they coincide in form with the stencils. Use a polishing saws.
2
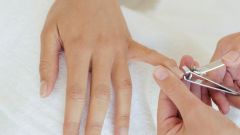
Remove the cuticles. Around the nail plate should not be excess skin: it is unsightly, in addition, it prevents the nail to grow. It is best to first steam the brush in the bath with a special tool , to push the orange stick and then remove the cuticles with the help of designed for this procedure, cream or oil.
3
Strip melkoabrazivnymi nail polishing nail file to get rid of the natural Shine. Wipe the nail plate with a liquid for removing varnish, so Alesgerov her. This will ensure prevention of fungal diseases under the artificial nail. Thoroughly disinfect everything necessary to build the tools.
4
As tight as you can attach a pre-prepared forms to the edges of your own nails. With a brush apply the nail on the stencil layer gel coating. Now the gel must be dried.
5
Substitute the treated nails under the light of a UV lamp. When the gel dries and hardens, apply the next layer. It is also dry under a special lamp. If desired, repeat the procedure again. Remove the form. Your artificial nail is almost ready.
6
It now remains to model the desired shape of nails. Align them with special nail files (in any case not iron). Apply the final layer of gel coat and dry under UV light.
Note
First, correction of artificial nails done once every two weeks, then once a month. With proper care they will last 4-6 months.
Useful advice
You can't do nail extensions in the period when you are taking antibiotics, hormonal medications or undergoing chemotherapy. They will be cut off.
