You will need
- a few saws of different fractions;
- - nail tips and glue for them.
- - UV lamp;
- - antiseptic;
- - guillotine (for cutting tips);
- - degreaser;
- - a large brush for removing nail dust;
- gel for nails;
- - primer gel;
- - special brush for gel nail;
- liquid for removing adhesive layer;
- - cotton pads or wipes;
- - finish gel;
- - gloss.
Instruction
1
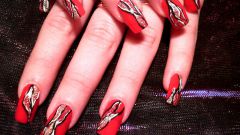
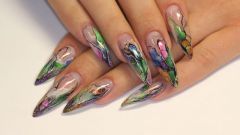
Ways of nail extension, there are several. Depending on the material used, increasing nails acrylic and gel. In addition, there is the option of building nails on tips and forms. Tips – usually made of plastic and are sold separately. Form molded master of gel or acrylic. Learn how to increase the nails can follow the instructions:
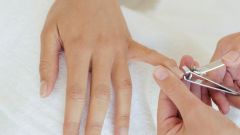
Before you begin to increase should be used to treat hands and nails with antiseptic.
Before you begin to increase should be used to treat hands and nails with antiseptic.
2
The cuticle need to "push" a special nail tool to avoid damaging it in the process of building.
3
The nail needs to handle, not too hard sawing linear movements. This is necessary in order to better "grappled" with the surface of the nail. Once the surface of the nail platinum fat Matt, you can move on to the next item.
4
During cutting of the formed nail dust. It should be carefully removed with a special brush.
5
Matt the nail plate should be degreased with a special drug. To touch the outside of the nail after degreasing is impossible.
6
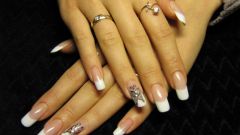
Next, you should choose the tips that are appropriate in size to each nail. To make beautiful nails on tips shape easier, so beginners are recommended this method.
7
The edge of the nail need to spread the glue and glue tips.
8
Then as a special tiparita (guillotine) tips cropped to the desired length.
9
Sawing 100x100 should give the nail the desired shape and washed the entire surface of the nail. Tips to treat nail file or buff so that the boundary between nail and tipsy disappeared.
10
The nail dust and sawdust again swept with a brush or dry brush.
11
The first phase is completed. Now begins the actual work with the material.
12
The nail should be treated with primer for gel. To tips processing is not necessary.
13
A small brush is typed in a small ball of gel with a size of about 5 mm. the Gel is applied to the nail and is distributed uniformly on the surface of the nail and nail tips. The excess is removed orange stick.
14
The gel does not freeze spontaneously. Therefore, after coating the nail with gel, each finger should be placed in a special UV lamp.
15
The gel should be applied at least two times. After application of the nail should keep the lamp to curing of the gel. Each new layer of the gel should be as thin as possible.
16
After the last application, the nail in the lamp need to keep about 90 seconds. Possible discomfort – burning, for example. If something like this occurs, the nail can be removed from the lamp for a few seconds.
17
When the gel hardens, a special liquid and cloth with each nail removed sticky layer.
18
The whole nail plate is processed by the saws. Free edge of the nail should be as thin as possible.
19
Thin layer of finish-gel, for fixing the artificial nail. Next, the nail is placed in the lamp for a minute and a half.
20
Removed sticky layer and apply the gloss.
21
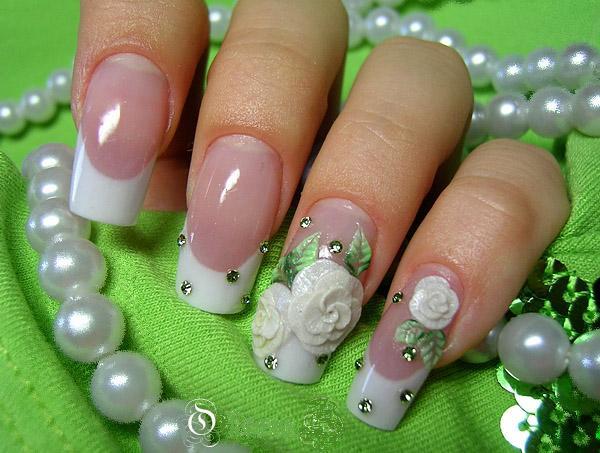
Accrued nail ready.
Note
It should be noted that before you start to increase the nails, really need to learn. You can train on special mannequins. Learn how to increase the nails is not so easy. With self-build can greatly damage the nail plate. To minimize the risk, it is better to entrust the procedure to the master.