You will need
- The Program Clock Gen.
Instruction
1
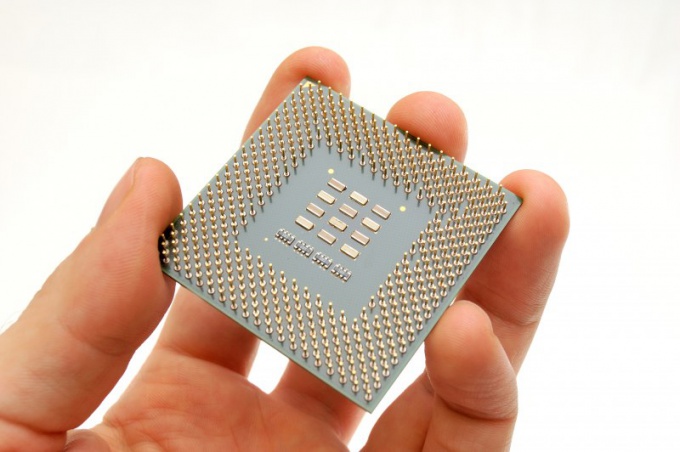
Better to start with the acceleration of the Central processor. The performance of this device directly affects the speed of the entire computer. All necessary manipulations can be done through the BIOS menu of the motherboard. Restart the computer and open the menu by pressing the Delete key.
2
Navigate to Advanced Chipset Setup and find items that meet the parameters of operation of the Central processor. In this case you are interested in three parameters: voltage, bus frequency and a multiplier. The easiest way to increase the overall clock frequency of the CPU is to change the rate multiplier. Unfortunately, this method does not always give the desired performance gains of other devices. Start with increasing the bus frequency.
3
Raise this figure to 50-60 MHz. Be extremely careful when setting up a dual-core processor. If the system allows you to change the parameters of each kernel separately, choose identical values. This will positively affect the work of the CPU. After increasing the bus frequency, change the voltage level. It is better to initially increase the voltage level by 0.1-0.2 Volts.
4
Go back to main BIOS menu and select Save & Exit. Press Enter and wait until the computer is restarted. Install the Clock Gen to check the status of the Central processor and evaluate its performance. Repeat the algorithm to increase the frequency of the bus of the CPU and test it as long as the utility indicates no errors.
5
Install the optimal settings. Check the temperature of the CPUto prevent overheating of the device. To do this, use the utility Everest or Speed Fan. With the help of the second program to configure the operation of the cooler to provide maximum cooling of the personal computer.