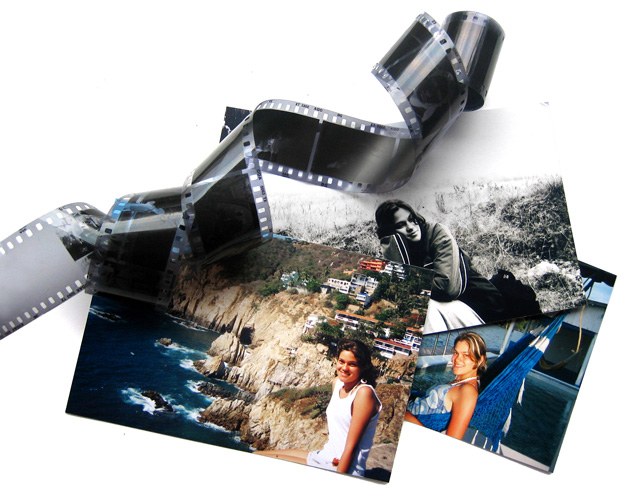
You will need
- - Photoshop;
- - Movie Maker;
- program VirtualDub.
Instruction
1
To keep the frame in a separate file for processing later, open the video in an editor or player. Program selection depends, primarily, on whether, in what format you saved the video. If your video is recorded in one of the formats supported by Movie Maker, drag the file icon into the window of this editor with the mouse.
2
Place the file on the timeline. This can be done with Ctrl+D. Put the cursor on the frame from where going to do a photo. Can move the slider with the mouse or use the playback control buttons, which can be seen under the player window.
3
Click on the "take snapshot". This button can also be seen under the player. Select a location to save the image in the dialog box and write the name of the file.
4
If you are dealing with interlaced video that may not displayed correctly in Movie Maker, open the file in VirtualDub. Place the pointer on the frame that are going to save. This can be done by starting the playback with the Play button. Can drag the pointer of the current frame, which is located at the bottom of the VirtualDub window.
5
Select Filters from the Video menu and click the Add button. From the filter list select Deinterlace. This has seven settings, choose the option that is most suitable for your video.
6
To save a frame, press Ctrl+2. After that, the image will be sent to the clipboard where you can paste it into a document editor.
7
Edit a saved frame in the graphic editor. If you have saved the frame to a file, open this file in Photoshop. If the frame has been placed in the clipboard, create a new file the New command from the File menu. Place the image into a new document with the command Edit menu, Paste or Ctrl+V.
8
If alterations in the photo you have chosen one of the moments when the object in the frame was moving, the future of the photo may be slightly blurred. This can be corrected by the filter Smart Sharpen from the group Sharpen Filter menu. In the filter dialog box, specify the type of blur Motion Blur. Adjust the angle of the escape blur radius and magnitude. All this can be done by focusing on changing the picture in the preview window.
9
Can make a simple border around the saved frame. To do this, add a new layer Layer New group from the menu Layer. Select the Rectangular Marquee Tool in the tools palette. With the help of this tool, highlight the part of the frame, which is closed by the frame. Use the Inverse command from the Select menu. Using the Paint Bucket tool fill the resulting frame to the appropriate color.
10
Save picture command Save or Save for Web from the File menu. To save, select jpg format. If you want to have a picture frame on a separate layer, save the file in psd format with the command Save As.