Instruction
1
Launch Adobe Photoshop and load a photo you want to darken.
2
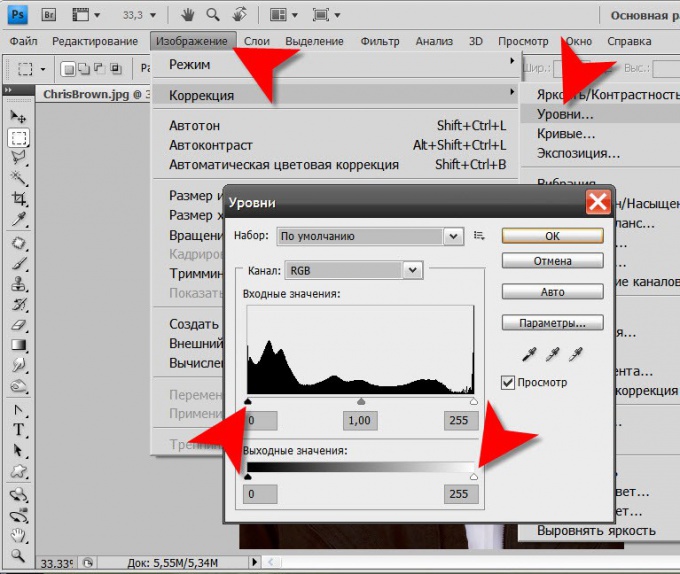
Open the menu of the graphic editor section: "Image", go to "Adjustments," and select "Levels". The graphic editor will open a separate window with the desired settings. To access it you can use hot keys ctrl + l.
3
Try to choose one of the default combinations of settings in the "Set". For darkening the image can be sets, which correspond to lines "Darker" and "darker mid-tones" from the list. If the "View" set mark, you can see exactly how your chosen option will change the original image.
4
Find the right combination of values, if none of our standard options does not give a satisfactory result. Move the black slider under the histogram, "Input values" from the left edge to the center can help with the darkening of the image. As well as moving the shaded white slider under the scale "output values" from the right edge to the center.
5
Change additional settings, which can be accessed by clicking on the "Settings" button, if you need dimmable to achieve does not work.
6
Click OK after finishing the work with levels.
7
Another set of tools that can help make the photo darker, you can open through the same procedure, "Correction" section of the "Image" menu in Adobe Photoshop - select the "Shadow/light". In the minimal set here there are two sliders with which you need to find a suitable blackout. There is an expanded set of controls, which can be accessed by placing marks in the "Additional tools".