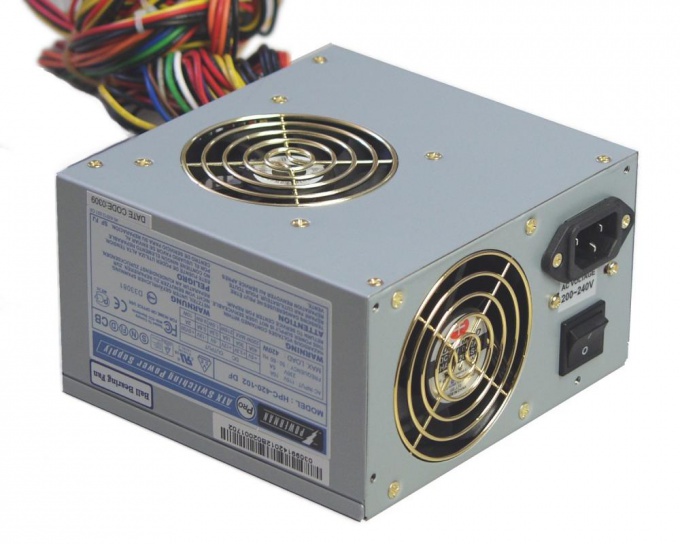
You will need
- computer;
- tester;
- - screwdriver.
Instruction
1
Remove the side cover of the system unit, which opens access to the motherboard. Disconnect all power leads from motherboard, graphics card, hard drive and so on. Leave connected the DVD drive — it drops voltage and a sudden shutdown is not as scary as the other components of the computer. Carefully unplug all wires, because you can harm the computer if misused. If you do not understand this, it is best to take the computer to a specialized center to check or to buy a new power supply.
2
Take the loop of the main power to the motherboard and short it the connectors green and black using the usual bent paper clip. Turn on the tester and connect the power supply to the network. Turn on the power supply with a switch on its case. After starting the power supply (if it does not start, check the clip) insert the black test lead of the tester in any of the black power wire and the red probe alternately insert the other colored pins.
3
Check the settings on the display of the tester to the following table:
orange is 3.3 V;
red - 5;
pink (purple) - 5 In (Dej);
white - 5V;
- yellow - 12V;
blue — 12V.
Carefully follow the indications of the tester, as it is a very important operation when checking the health of the power supply.
orange is 3.3 V;
red - 5;
pink (purple) - 5 In (Dej);
white - 5V;
- yellow - 12V;
blue — 12V.
Carefully follow the indications of the tester, as it is a very important operation when checking the health of the power supply.
4
If the indicators deviate from the reference by more than one, it indicates that the power supply gives too high (or too low) voltage. Such a power supply can be considered faulty, it can be repaired. To repair the PSU in the service center on repair of equipment. It is also worth noting that with the development of new components for personal computer requires a large power supply, so in some cases you need to purchase a new one that is more powerful.
