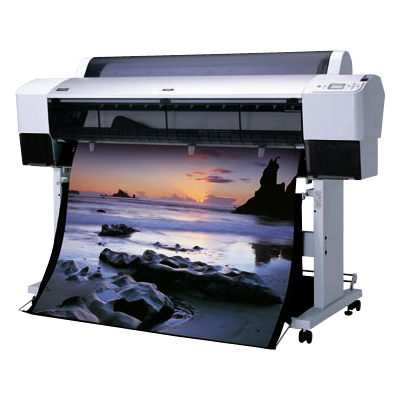
Instruction
1
Open Microsoft Word and select the file to print on the plotter.
2
Click on the "File" menu, and then click "page setup". Select "Settings" from the drop-down menu, and then click Microsoft Word. Select "Use the page size specified by the user.
3
Enter the page size. The maximum page size in Word is 22 square inches. When you have finished entering, click OK.
4
Select "Settings" from the drop-down menu and click "page setup". Choose a format for the plotter under "Format". Click the drop-down menu "paper Size" and select the size you want.
5
Click "Print" and check that the printer was installed chart plotter. Click the drop-down menu "Page and copy" and set it to "print Settings". Set the value by selecting "Mode" as "Automatic" and make sure the slider is set to "Quality".
6
Click the drop-down menu "media Type" and select the type of paper you use. You can select Normal or another option, depending on the type and thickness of paper used. Hit "Print" and the plotter will begin printing the document. To print the presentation slides go to the next step.
7
Open PowerPoint and select the presentation file you want to print on the plotter.
8
Click the "File" menu, and then click "page setup". Install the "slide Size" as "Arbitrary". Set values for the parameters "Width" and "Height". Select "Landscape" for orientation slides. Press the OK button.
9
Click "File" in the menu bar and then click Print. Select the desired printer and click "Properties". Select value orientation "Landscape" for layout, and then click Advanced. Options for Paper/Output, select "Custom page size" and click "Change page size". Enter values for the parameters "Width" and "Height". Select "short edge First" setting for feed Direction of paper." Click OK when finished. Hit "Print" and the plotter will print the slides.
