Instruction
1
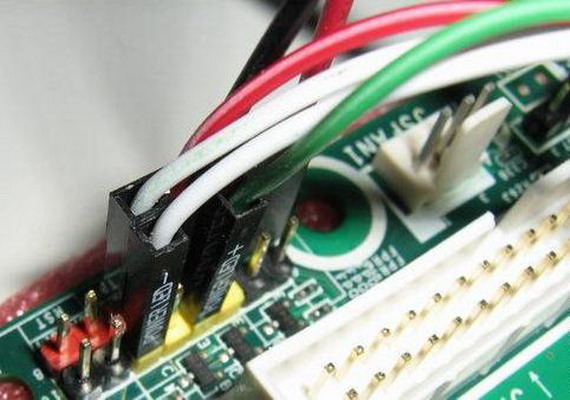
Find the contact area on the mother Board. It looks like the group signed plug and is usually located in the lower right corner of the motherboard. Some motherboards can be found just a few contacts, but they are worn adapter with a pad. This feature, for example, differ in some models of Asus motherboard.
2
Contacts for supplying power to the motherboard, usually marked as POWER_SW. In the same way marked wire coming from the button power the computer case. If marks on the mother Board not detected, refer to the instructions for your Board. It is usually indicated the order of the plugs on the respective contact pad, and you can easily determine which ones are responsible for the supply of power to the motherboard.
3
To connect button power case to the mother Board simply plug and wire, signed as POWER_SW and extending from the housing, the respective contacts on the circuit Board. Polarity you observe optional.
4
To check for correct wire connection plug the power cable into the unit 's power and turn on the computer by pressing the button on the case. If there is no response, once again check up correctness of connection of the wire pull and then paste it to neutralize the problem of bad contacts. If it fails, the case can be either in a defective button on the body, or faulty in the parent Board.
5
To check the buttons on the case connect the wire RESET_SW in the same pair of pins as before. Note only that now to turn on the computer have a reset button (Reset). If this doesn't work, you will have to bear the motherboard (or better system unit as a whole) to the service center.
6
Finally, if the fan on the processor spun, it means you've successfully connected button power case to the mother Board.