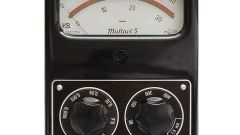
You will need
- Multimeter
- 2 wires with probes
Instruction
1
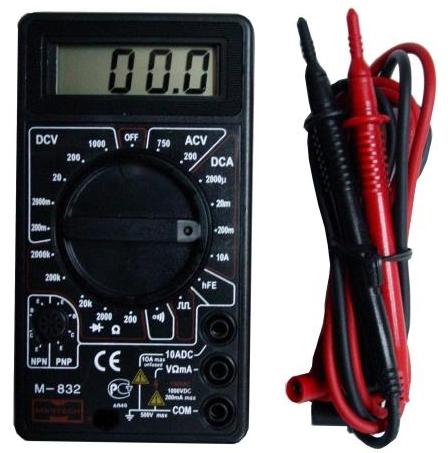
Before measuring the voltage in the network , insert the black wire with the test lead into the socket labeled COM on the multimeter, then plug the red wire into the socket labeled VΩmA. Turn the unit on by turning the switch and putting it in the on position measure the voltage.
2
Please note: the multimeter has two modes of stress measurements: mode of measurement of DC voltage and AC voltage. Turn on the multimeter mode measure AC voltage, measure the AC voltage indicated by symbols ACV. Select the radio button next to the digits 750, which is in this sector. This number indicates the limit of the measured DMM voltage for a given switch position. The display device should display the three digits "zero" and the button "HV" indicating that enabled the measurement of high voltages. If this icon does not appear, check how you installed the switch and set correctly.
3
To measure the voltage, take the leads the one to the right and another in left hand. The probes should take the above restrictive rings located on the probe. Do not take the probes in one hand. Insert the probes into the socket and the readings on the display, determine the voltage. Readings can vary in the range of 3 to 4 units, that's fine.
4
Significant voltage variations can be caused by repetitive stress in the network. Check to see if your neighbor with any powerful tool, not does it electrowelding works on the site.
5
Otherwise call an electrician to check the reliability of contacts and connection terminals in your house or apartment. Do not attempt to determine cause of voltage instability in your home. Remember: Amateur made changes in the wiring can cause an accident or fire.