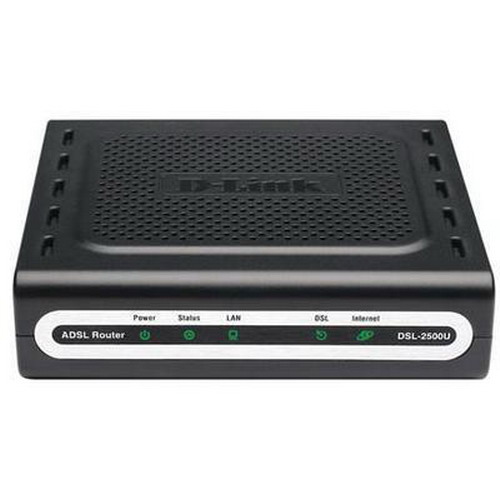
You will need
- A computer running the Windows operating system, adsl modem
Instruction
1
You must log on to configure the modem. Since the network card has the property "Automatically obtain IP address", you must configure network modem.
2
First, configure the network card. To do this, open "Network connections" and in the context menu click "Open". In the folder that contains all network connections, there is the item "local area Connection". Its status should be "Connected". In the context menu select "Properties".
3
In the list select "Internet Protocol TCP/IP" and then call Properties. In the field "Use the following IP address" needs to be written: IP address - 192.168.1.2; subnet Mask - 255.255.255.0; default gateway - 192.168.1.1. Now you must select "Use the following DNS server addresses" and enter 192.168.1.1. Next in all open Windows, click on "OK". Now network card is fully configured.
4
Next, you can start configuring the modem. You must log on to the settings modem. In the tab "Advanced Setup", select "WAN", click on "Add" to create a new connection. You need to remove the tick from "auto-connect". Then fill in the VPI and VCI 1 and 32).
5
Now select PPP over Ethernet (PPPoE)" then click "NEXT". Next, you fill in the "PPP Username", "Password - specifies the username and password that was issued to the provider. "Authentication Method" is set to "PAP", and also you must select the "Enable Firewall", "Enable NAT" then click "Next".
6
On the next page you need to leave all by default. When you press the "Save" button you will be redirected to the page where you can see the connection. Now you need to click "Save/Reboot" to save the settings entered into force, and the device rebooted.
Note
Access to the Internet is through WAN (Wide Area Network) interface of the router, which in the case of ADSL is physically normal telephone connector RJ11. Relevant today is the standard for ADSL 2+, providing the maximum connection speed is 24/3.5 Mbit/sec.
Useful advice
The market is being flooded with offers from various ADSL router both WiFi and wired, but how to choose from dozens of proposals that will fit You? Absolute leadership on the use keep wireless ADSL modem ZTE ZXV10 W300 is mainly due to the fact that the operator imposes their subscribers, it imposes because to obtain from the operators of other models of adsl modems suitable for use, you need to seriously torture them direct questions.