You will need
- Built-in laptop microphone, an external dynamic microphone, folder "Sound" ("Sounds and audio devices").
Instruction
1
On the desktop, open your laptop, click start. Select in the section "control Panel" folder "Sound" (in earlier versions of Windows called "Sounds and audio devices"). In the new window that appears, click the "Recording" tab. Next, select the recording device to "Microphone". Click on it to change settings.
2
You will be presented with a small window "Properties: the microphone," where you can enable and disable the device itself, to adjust the volume balance, choose sound effects, set elements the recording quality is the bit depth and sampling rate for use in shared mode.
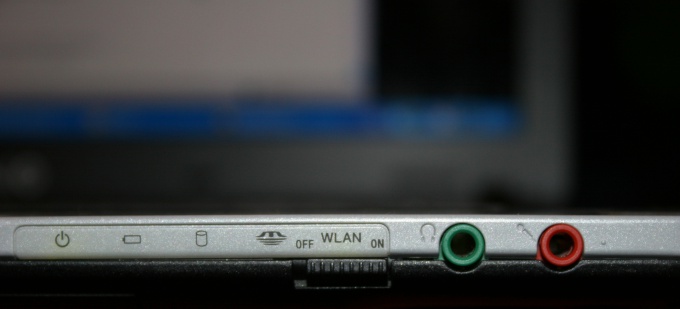
3
You can use the built-in laptop microphoneand also connect an external dynamic microphone through a special red socket "Microphone". It is located next to the line input and earphone Jack hole. In the folder Properties: microphone: click the" General "tab. Then in the bottom box, "device usage" click arrow "Use this device". After that, click "Ok". The microphone must be turned on.
4
In order to adjust the volume balance go to the relevant section "Levels". Put the sliders for microphone and amplifier to a desired level. Click "OK". Always listen carefully, hear whether the sound from the speakers of the columns, so how to check the microphone in laptop really only allows the very existence of the sound. Use additional functions, if you are going to add to the sound of the microphone sound effects.
Note
Don't forget to press the power button on the microphone.
Useful advice
This method of connection, and check the microphone is the same as laptop and personal computer.