You will need
- A square sheet of paper
Instruction
1
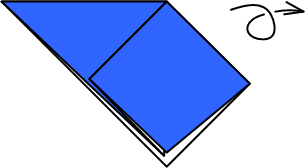
Take a square sheet of paper. Fold in half diagonally to make a triangle. The resulting triangle fold in half again, aligning the sides. Position the shape as shown in the figure.

2
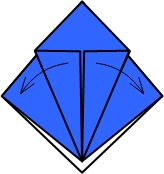
Fold and unfold the upper layer of the resulting triangle so that the side angle is aligned with the bottom, forming a square. Flip the piece and do the other side the same. In the end, you will receive one of the base forms origami – double square.
3
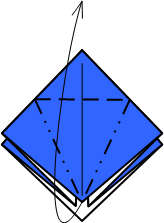
Bend to the center of the bottom side of the square and unfold them back. Turn the figure and repeat with the other side.
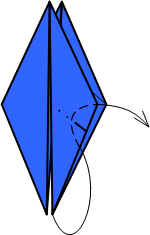
4
Take the bottom corner of the square, using only the top layer of paper and lignite it up to the chosen bends. In the end it should be an elongated diamond.
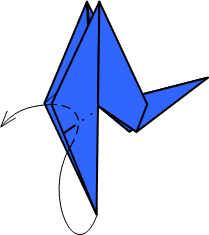
5
Turn the figure and repeat step 5 with the other hand. The resulting figure is called the base form "bird". It is from this figure one gets the most birds origami, including our flying crane.
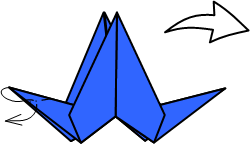
6
Take one of the legs of the shapes and lignite it sideways between the layers of paper as shown in the figure. It will be a tail of the future birds.
7
Do the same with the second "leg", shaping the future neck.
8
Bend the tip of the neck to the inside in a downward direction to form a beak.
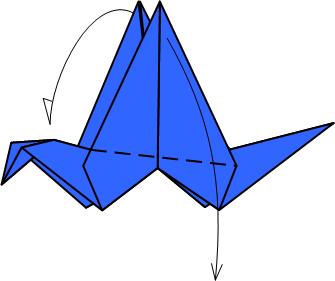
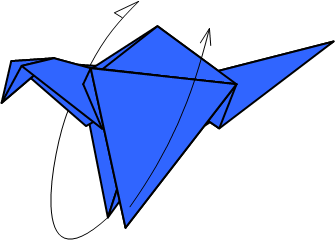
9
Fold the wings downward and again raise them, but not until the end. Your crane is ready.
10
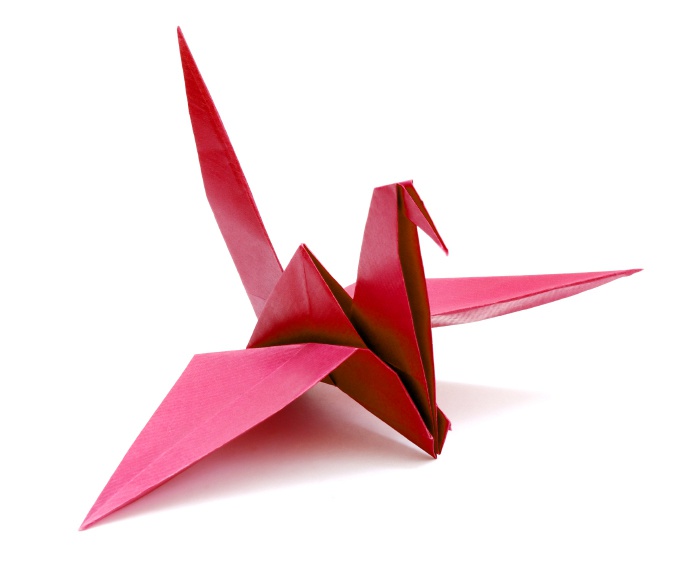
Now with one hand take the crane over the front part (under the neck), and the second pull bird 's tail. So your crane will flap wings.
