You will need
- Coloring books
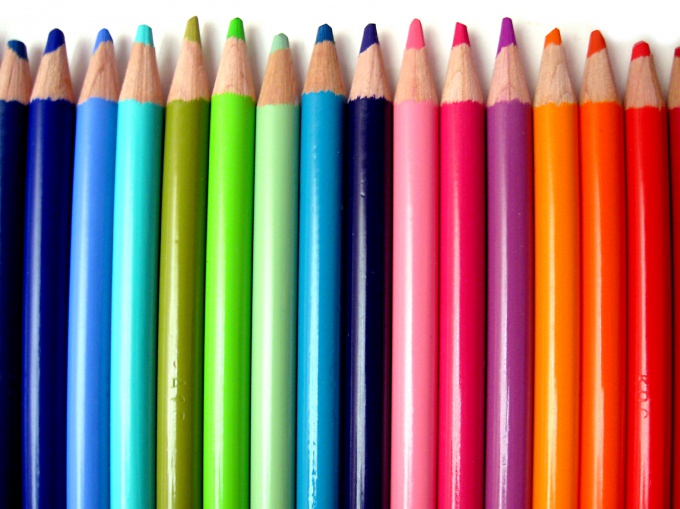
- Pencils
- Paint
- Markers
Instruction
1
Find and print the outline drawing. Paper depends on what you are going to paint a picture. For watercolors it is better suited to a regular album sheet. For markers it is better to take thicker paper or thin cardboard. If you only pencils or wax crayons, you can use any paper, including that typically used for a printer.
2
The coloring is better to start with larger fields. If you paint, first paint the background, trying not to go over the line. To make it so that the paint does not flow over the contours, still will not work, so try to keep the bumps were inside the silhouette of an object or figure. You can still fix everything.
3
Painting over the background with a pencil, try to keep the line went tight, no spaces. Fit pencils of medium hardness. The direction of the hatch can be different, depending on the shape of the figure. Usually the background is filled with straight lines, horizontal or inclined.
4
Paint more than small parts of the picture. If you can see there is no pattern, try to match colors so that they match the natural. Passing on items of clothing, first apply a smooth surface, then folds the darker shading. Shades are obtained due to the greater or lesser pressure on the pencil, as well as through the use of different shades of the same color, if you are working with paints or markers.
5
Apply the smallest details. It may be parts of faces and clothing, midway flowers, decor, utensils and buildings. They can be applied as a darker shade of the base color and black strokes of a pencil or pen. Pencil and crayons at the final stage can be used if you and the rest of the figure painted colors.
Note
For painting large fields, take the brush thicker, for the remaining parts of the pattern is thinner. The preferred soft squirrel or kolinsky brushes.
When coloring the paint can after each stage to give the picture to dry. But you can use that paint spreads on wet paper and get new shades.
If you paint a picture on the computer, the work order can be anything. The main thing — to line, which is one part of the picture is separated from the other, was continuous.