Instruction
1
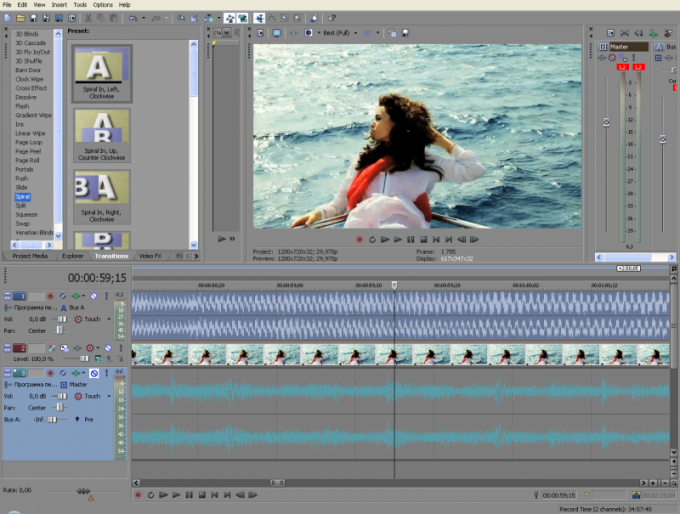
Start Sony Vegas and upload the file. This can be done in the menu "File - > Open" or by opening a folder with videos in a normal "Explorer" and dragging the object icon on a time table program. Please note that when you load a temporary table there were two tracks: on the top shows the video footage on the lower sound vibrations.
2
Click on any of the tracks, which should lead to the selection of both. At this stage, the audio and video are "linked" in a single group. To share them with option "ignore grouping": it is invoked by a special button on the top panel (Ignore Event Grouping), with the context menu command (one of the lines that appear when you click the right mouse button) and Ctrl+Shift+U. this command to reset the current selection by clicking in any part of the screen and try to drag the audio part. Now it moves independently from the audio.
3
If you need to separate the sound in part of the video, separate the audio track you want to restrict. To do this, place the marker at the moment where the sound should end, and press S. Audio will be divided into two independent fragments. Obviously, if a sound is "back" then you need to make a similar cut at the right time.
4
To keep the audio track separate from the video (or Vice versa), after the split, delete the unneeded component from montagnaga table. Then select in menu "File" - "Count as" (Render as). A window will appear, similar to the file save dialog: at the bottom you can select the desired output format. Obviously, if you choose .mp3, the video will not be saved. But, if to save selected format (such as .avi), it will retain all desktop contents: pobespokoytes that unnecessary audio tracks were not there.