Instruction
1
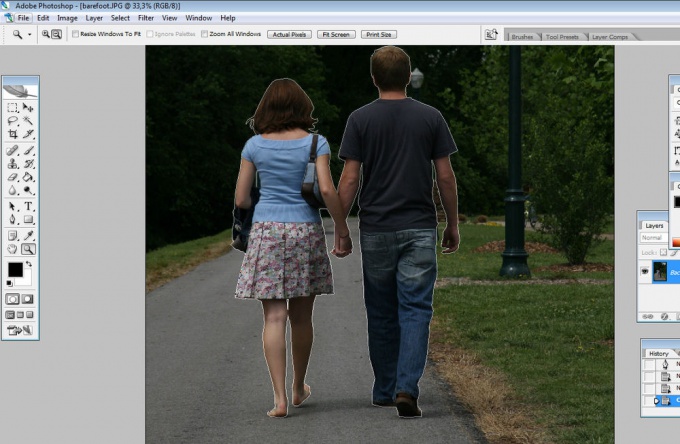
Select a photo background which you want to change and choose a new suitable background.
2
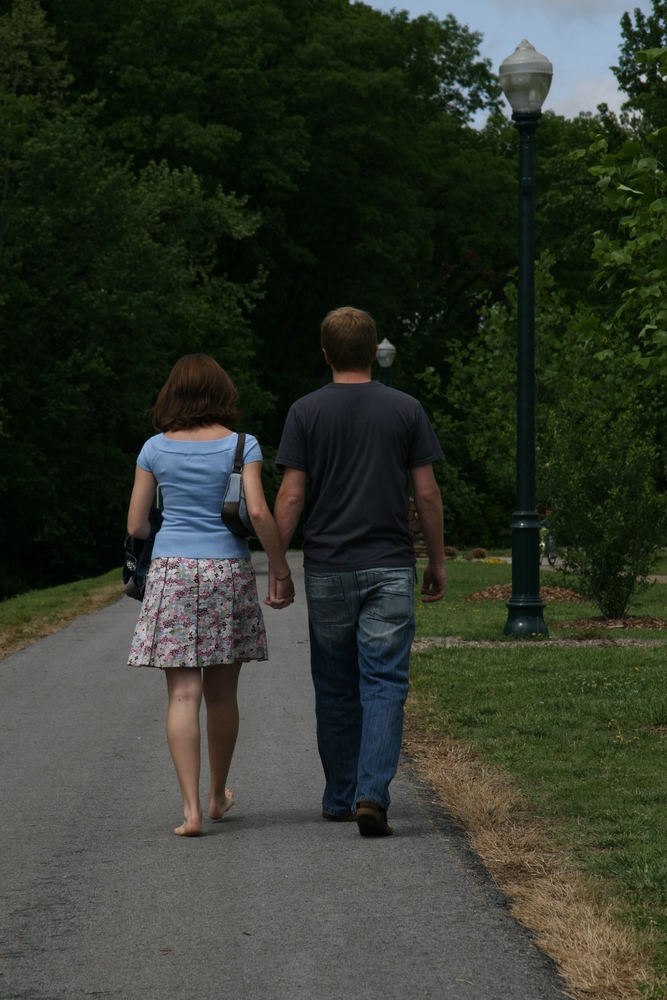
Open the photo which we will change background. It is best if the photo is large and of good quality, because we cut part of photography, but on a small image of poor quality will make it much more difficult.
3
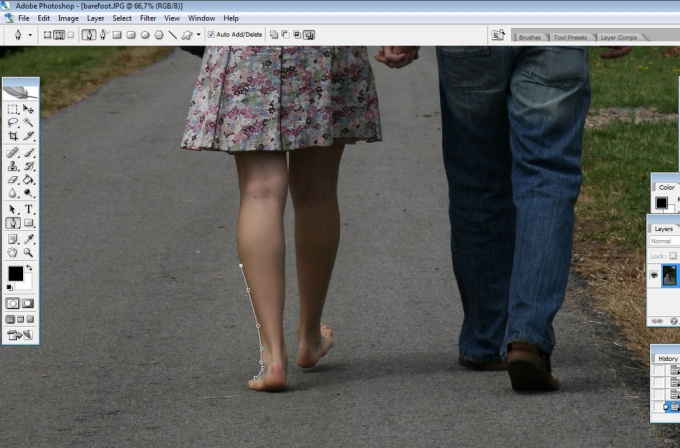
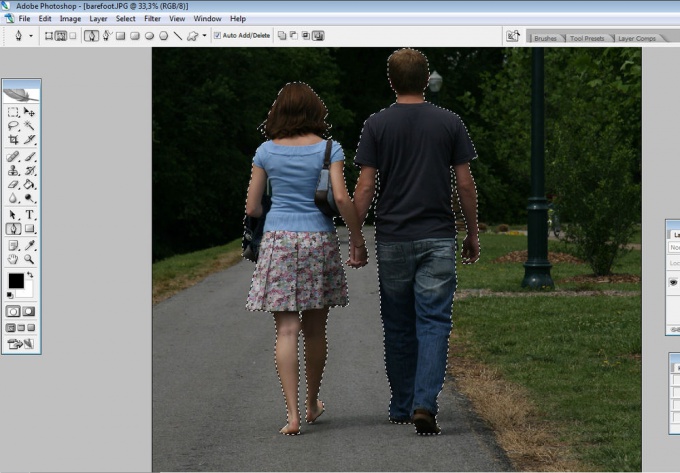
Take a tool called the "Pen tool" (the pen). On the top of the control panel, select the pen icon on a backgroundof squares with dots.
4
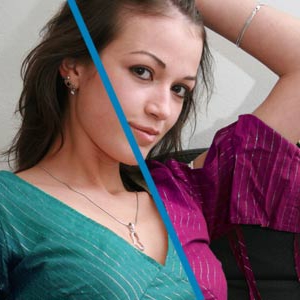
Now set the first point using the tool somewhere on the outline of the shape you want to cut. Then, very carefully, moving along the contour, put on it points one after the other. To be more accurate, zoom the image. The more accurately you depict the contour points, the better will the result. It may take some time, but be patient.
5
Pay special attention to the hair. Generally, if you try to cut the image of a man with a very lush and shaggy hair, it is likely that you will succeed too well – this is a job for professionals.
6
When you fully outline the outline, return to the point from where you started – line should be closed and the points will disappear.
7
Now click on the picture, right-click, select "Make selection". Your image will be inside the dotted selection.
8
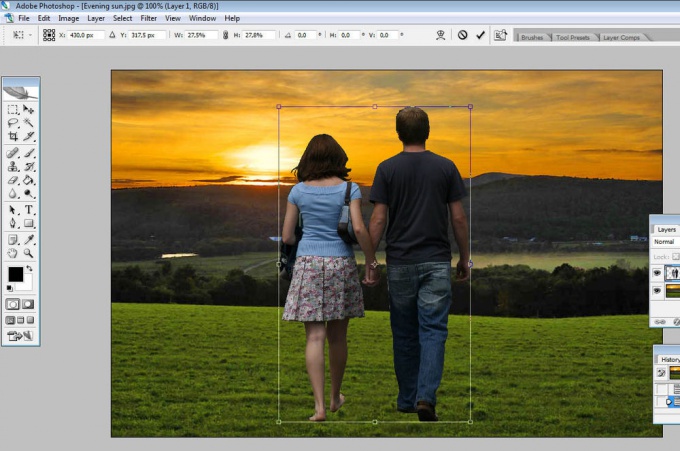
Now leave for a while this image and open the one that will serve as the new backgroundω for the image. After that, open both Windows and drag with the tool "Move tool" (black arrow) selected image to the new background.
9
If the images do not match in size, then adjust them to each other and position the selection in the picture as you want.
10
Most of the work we have done, but it is clear that now our picture looks not too realistic. First of all, treat in some places the edges of the image with a soft eraser. Perhaps, somewhere, will need to work with the tools "Burn tool" and "Blur".
11
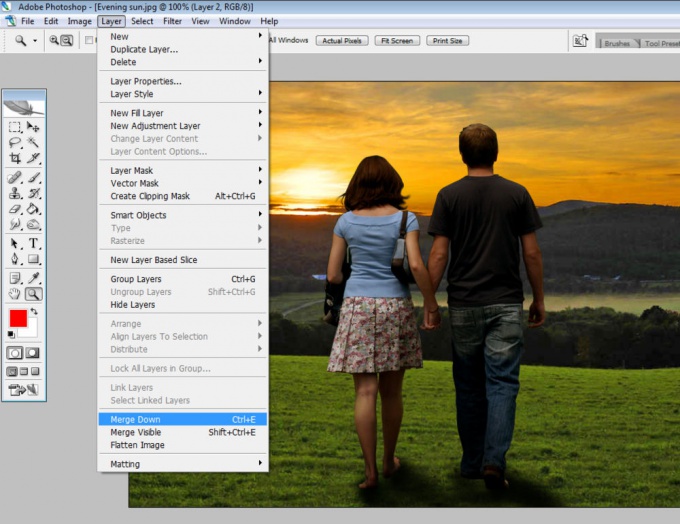
So the image did not seem artificial, add, if necessary, the shadows. In this case we will add shadows under people's feet. To do this, create another new layer ("Layer" – "New layer" and under the feet with a soft brush with high opacity draw blackout.
12
Now to give the most realistic work on brightness, contrast and color balance.
13
Now merge all layers. This can be done by Ctrl+E or Layer" - "Merge down".
14
Save the image in your desired folder and enjoy the result!
Useful advice
Pick the image, which is roughly equivalent in size and quality, otherwise the result may be very unrealistic. Try to opt for the use of photographs of poor quality.