Instruction
1
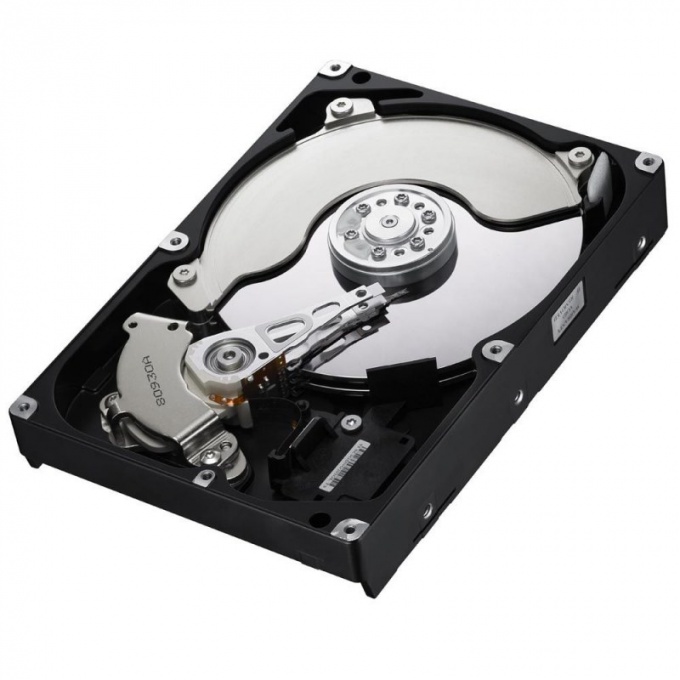
Once you turn on the computer, remove the side cover, which opens access to the motherboard of the system unit. To do this, carefully Unscrew the bolts located on the system unit PC. To attach hard drive to locate the connectors on the motherboard. Use an IDE ribbon cable or SATA cable. The choice depends on the connection type of the hard drive. The food, which is also necessary to connect different IDE or SATA devices.
2
Restart the computer, then check out a PC hard drive. Immediately after starting the computer, on the keyboard press the F2 button or Del to enter the BIOS. In the section called Standard CMOS Features, you will see all the connected devices: hard drives or optical disc drives. Without saving the changes, exit the BIOS.
3
Download the new operating system. Wait until Windows will install all the drivers on the hard drive and treat it as a carrier. Open the main menu of the operating system "start" then go to "control Panel", then to "System and security" then "device Manager".
4
On the desktop or in the start menu, open Total Commander or "My computer" (depends on your preference). The data that you want to transfer, highlight and press F6, then enter. These buttons are relevant for Total Commander. Connecting as an external hard drive, you can transfer data. For this you will need a cable to connect to PC and Mobile Rack. There are special adapters you can connect both IDE and SATA hard drive.
5
After you transfer all files to another hard drive, connect it as the primary hard drive to the computer to check the health. Also keep in mind that this may cause some problems in the operating system. Make backup copies of content on external USB storage media or disks.
