You will need
- - special liquid-Reanimator;
- - ultrasonic bath;
- - detergent Fairy;
- water;
- - foam rubber swab;
- - distilled water.
Instruction
1
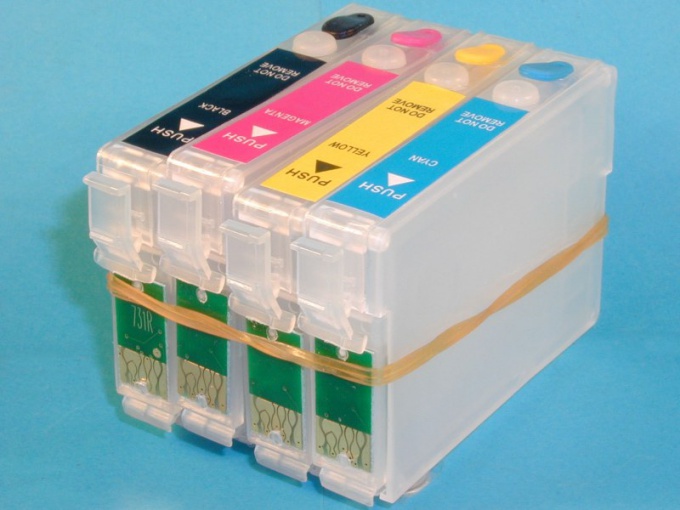
If you see when printing defects such as pallor or streaks, you need to clean the cartridge nozzle. To do this, use a special liquid-Reanimator. Remove the print cartridge from the printer, peel off the ink port and pour some of the liquid in the color channel, which does not suit you. Wait until the cartridge is saturated, and then install it back into the printer.
2
Clean the nozzles using the printer options let stand for a few hours and then try to print something the color of your interest. This will give the opportunity to remove any ink residue and replace them with liquid-Reanimator.
3
Leave the printer overnight and the next day refill the cartridge a small amount of ink, and try printing again. If the desired color does not appear on the paper, again it will change the ink to the liquid-Reanimator. This procedure is recommended as long as the problem is completely fixed.
4
To clean the nozzles of the cartridge using Fairy. In an ultrasonic bath pour some water and put a few drops of detergent. Place the desired cartridge into the solution down the nozzle and turn on the tub. It is recommended to carry out such clearance only in extreme cases, as the frequency of oscillation is critical for the print head many ink cartridges.
5
To clean the contacts, ink jet cartridge, turn the printer on, wait until the print carriage moves to the right and remove the cartridge. Look at the contacts foreign particles or the ink. Take the foam rubber swab and soaked it in distilled water, shake, squeeze.
6
Holding the cartridge by its sides, gently RUB the swab copper contacts. Install the cartridge back into the printer. If necessary, clean the same way contacts the second cartridge.
Note
In any case can not be used for cleaning of the cartridge contacts the alcohol. It can ruin the cartridge.
Useful advice
During cleaning, avoid touching the nozzles or copper contacts of the cartridge.