Instruction
1
Turn off the computer and remove the side cover of the system unit that provides access to components of the computer. For this you will need a screwdriver to Unscrew some parts of the system unit. In some cases it is necessary to remove some components. All operations must be done when off of the power supply, otherwise you risk damage your computer. Remove the dust on the components with a brush and cleaner. Gently swipe the dust with a brush and then "pick up" the dust with a vacuum cleaner. So you do not contaminate the air and the room and do not damage the components.
2
If the motherboard is not visible under the wires and circuit boards, disconnect the entanglement of wires and pull the Board. It is not necessary to remove the cooler over the processor — there is the serial number is still there. Remember where which wires were connected to then all with ease back.
3
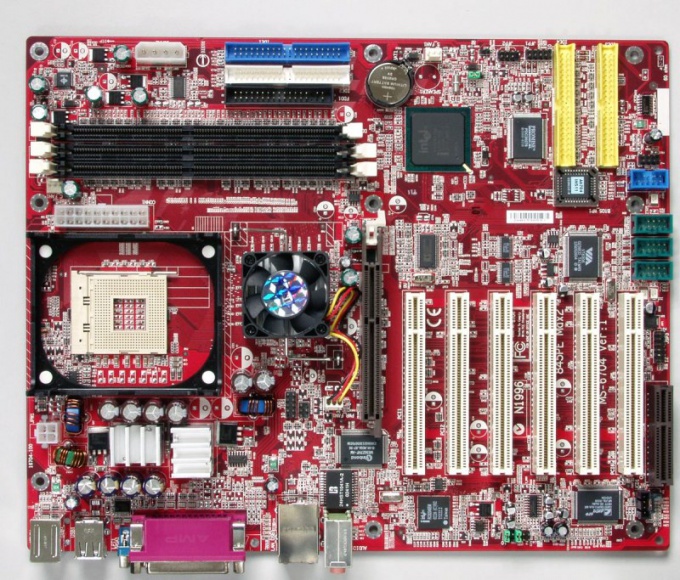
Carefully inspect the white sticker on the mother Board. Most often the label is on one of the ports the rear panel of the motherboard from inside of the body. Just in case, write down all the stickers on a piece of paper, so you don't have to repeat the procedure if the room is not suitable.
4
In rare cases, the decals are unscrupulous manufacturer on the back side of the motherboard. In this case, you will have to remove the Board if the mount housing can not see its downside. It is also worth noting that when purchasing a personal computer all boxes and papers given to the buyer. You have in the box from the motherboard should be documents, which will be written the serial number of the motherboard. You can also view information on the official website of the manufacturer.