You will need
- - electric soldering iron with a fine tip;
- - rosin;
- - tweezers;
- - thin wire;
- needle from a medical syringe.
Instruction
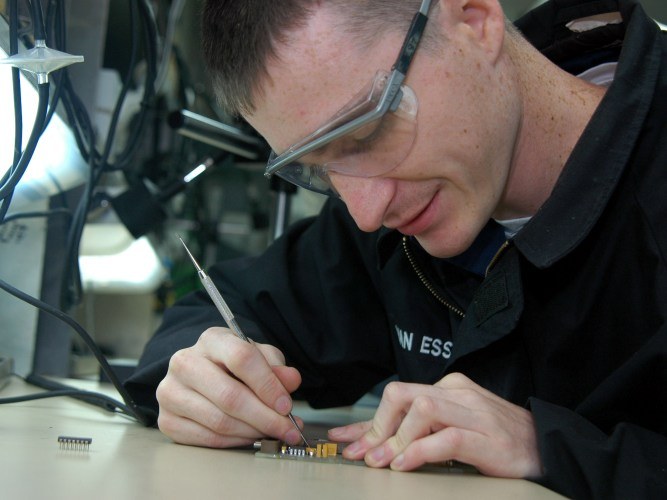
1
With a soldering iron with a fine tip consistently get from the legs of the chip, the extra solder. Make a thin wire, which can be taken from the stranded wires. It will perform the function of heat dissipation. Push the wire under the pins of the chip that you require desoldering. To make this work better with the use of tweezers.
2
Secure the wire pripal to one of the neighboring elements of the circuit Board, or wrap end of the unnecessary details. Otherwise, the wire at the wrong moment might pop up and interfere in the work.
3
The heated soldering iron turns to treat each leg of the chip. First, heat one half of the chip, and then the second part. After the legs are freed from the solder, gently pull them from the nests and atribuite to the side. When all legs of the chip are free, align them with tweezers.
4
For particularly difficult cases, use a needle from a syringe for injection. The needle should have an inner diameter that is slightly greater than the diameter of the legs of the chip.
5
Lubricate the pins of the chip in the soldering rosin or other flux. Put the needle on the first output chips and start to warm up a soldering iron solder. The needle should be slightly turned from side to side, pressing and releasing. Otherwise your self-made tool can be hard to privatise to the leg of the chip.
6
When the needle will enter the circuit Board, remove the soldering iron and slowly rotate the needle until it pulls from the legs. In the same way treat the remaining pins of the chip, freeing them from the solder. To desoldering the manner described, one conclusion requires no more than three seconds.
7
Upon release of the pins of the chip, ensure that the soldering iron is not much heated. Otherwise you can damage the design of the components, bringing it into disrepair.