You will need
- - a tool for polishing;
- - elastic adhesive;
- - waterproofing;
- - the ground;
- - screws for wood;
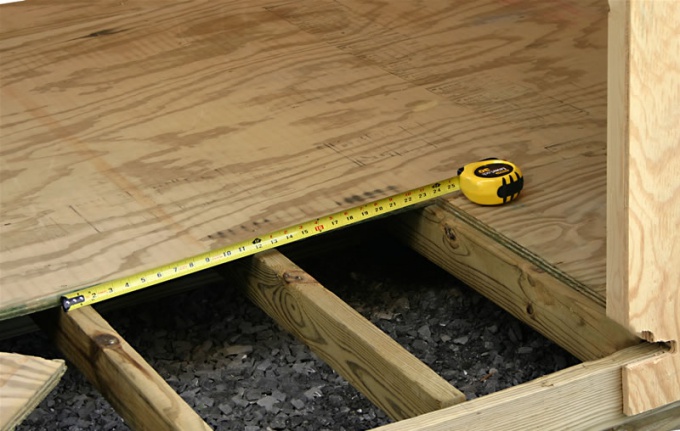
- roulette;
- crosses for tile;
- - mortar for grouting.
Instruction
1
Measure the thickness of the plywood layer and the base. Walls and floors lined with ceramic tiles are quite heavy, so not every surface will withstand a high load, leading to its deformation. The tiles will not stick. Experts recommend that the thickness of the plywood base was not less than 28 mm. According to European standards the thickness of each sheet of plywood 22 mm and more.
2
Carefully inspect the strength of the plywood base. The coating to be immobilized, otherwise it will hurt the quality of work. If necessary, secure the plywood sheets to the wooden base.
3
Thoroughly clean the surface for subsequent coatings. This is always the case when laying the tile, regardless of the type of substrate (concrete, wood, brick, etc.). Use of abrasive and polishing tools. Sanded so that the top layer of the sheet of plywood was smooth, without irregularities, and other deformities.
4
Before putting the tile on the plywood, treat the surface with soil. Basic treatment consists of two layers, with each layer needs to dry thoroughly, which takes an average of five hours. In the bathroom the sheets of plywood must be pre-treated with a solution of waterproofing.
5
Put the first tile in any corner, where according to preliminary calculations must be whole tiles. Use a level, the series is smooth. Evenly spread the glue on the surface, attach it to the tile and firmly press her hand. Within a few minutes, until the solution is grasped, it is possible to adjust the position of the tiles on the floor or the wall.
6
Between two adjacent tiles secure special crosses – it is necessary that the size of the joints were identical. The average thickness is 2-3 mm, but in areas which are characterized by sharp changes in temperature, the necessary thermal seam, i.e. the distance between tiles should slightly increase up to 5 mm.
7
Seal the seams with special grout. Usually such work is performed on the third day after laying the tiles, when she is thoroughly caught up with the surface. The rubber knife evenly distribute the product along the seam, the excess solution remove. Let the seams dry for 20-30 minutes, and then wipe the tiles with a damp cloth. After a few hours treat the coated surface with a dry sponge.
Note
To ensure good quality hitch use a good quality glue that is designed for a specific type of tile. When you purchase a universal adhesive, carefully read the instruction manual, which lists the types of surfaces for which it may apply.
Useful advice
Start laying the tiles from the second row, regardless of whether the walls and floors are revetted. This approach will allow you perfectly to lay out the first row: if necessary, the tiles can be cut to optimal size.