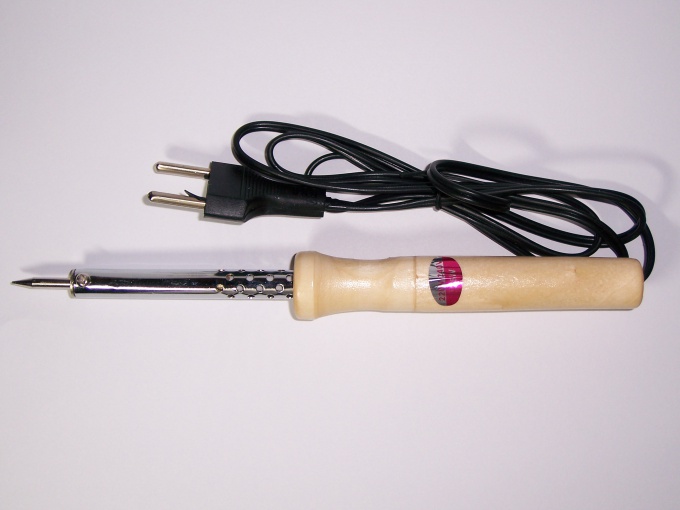
You will need
- soldering iron, flux, solder
Instruction
1
There is a General rule – to correctly solder the diode, it is necessary to consider the polarity, otherwise it will not work. LEDs are usually long leg connected to the positive electrode (anode) and negative (cathode). The other diodes anode marked with a beveled corner, and a cathode – sign "-". However, relying on this is impossible, because not all manufacturers mark so the electrodes are semiconductors. Take an ohmmeter or multimeter in the ohmmeter mode, measure the resistance of the diode. In the forward direction when attached to the anode " + " and cathode "-", the resistance of the diode is 0 in the opposite – very large.
2
Once accurately determined the polarity of the diodes, you can solder it into the circuit. Take the diode with tweezers. Warm up the soldering iron, dip the tip in flux and swipe the legs of the diode, then dial the tip in a little solder again and swipe at the legs – saladita them. Insert the diode into the place prepared exactly in accordance with the polarity. If you soldered a few diodes, place them so that the cathodes were in the same row, and the anodes in the other. In order to lock the pieces on the Board, spread insights from the electrodes in different directions. If the legs are too long, trim them with wire cutters.
3
Dial on tip of a soldering iron some solder and apply it to the place of contact. After the solder begins to melt, move the soldering tip for soldering to apply solder to the solder surface.
4
When soldering LEDs, you must consider their sensitivity to the current load. To limit the current in an electrical circuit in series with the led include a resistor. Calculate the resistance based on maximum allowable current for the LEDs.
Note
Do not warm up the soldering iron soldering more than a couple seconds, or the diode can fail.