You will need
- - source file;
- program VirtualDub.
Instruction
1
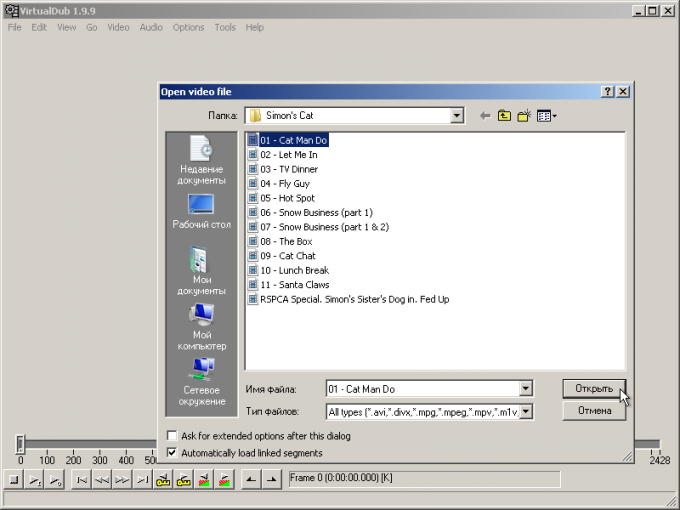
In VirtualDub, open the animationyou want to insert a photo. Select "Open video file..." section in the File main menu or press Ctrl+O. select the desired file. Click "Open".
2
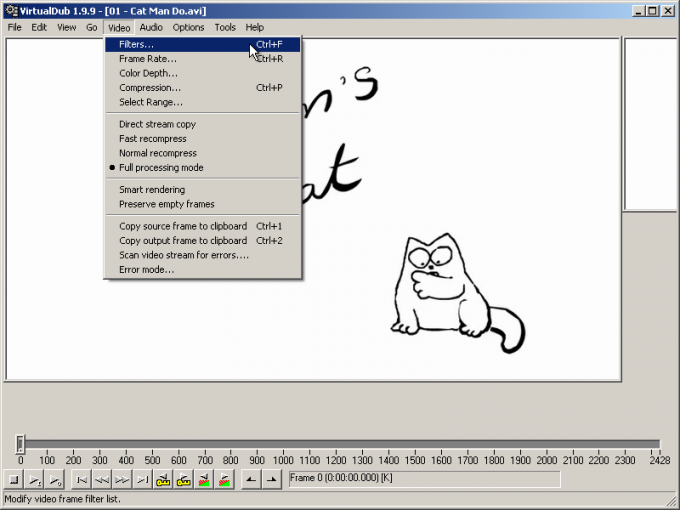
Activate the image processing of frames of animation, setting the mark at the point of Full processing mode in the Video menu. In the same section menu, select "Filters..." or use the keyboard shortcut Ctrl+F to display the window with the filters.
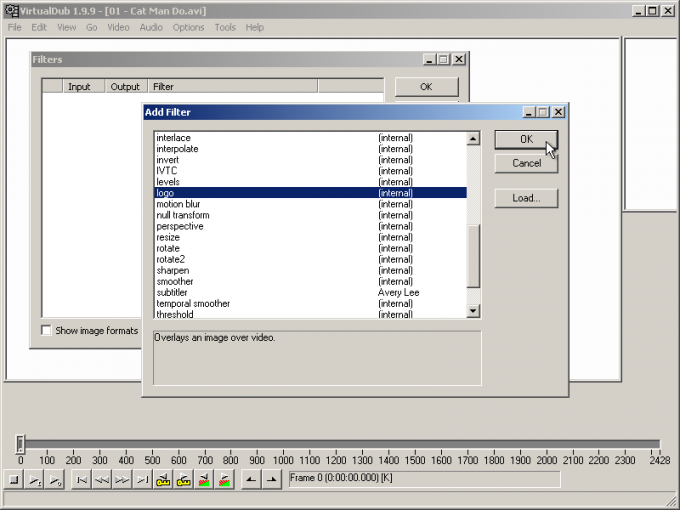
3
Add a logo filter to the list of handlers of the frame. Click the "Add..." button in this dialog. Select logo in the list of Add Filter dialog. Press the OK button. Will automatically open the settings window of the filter.
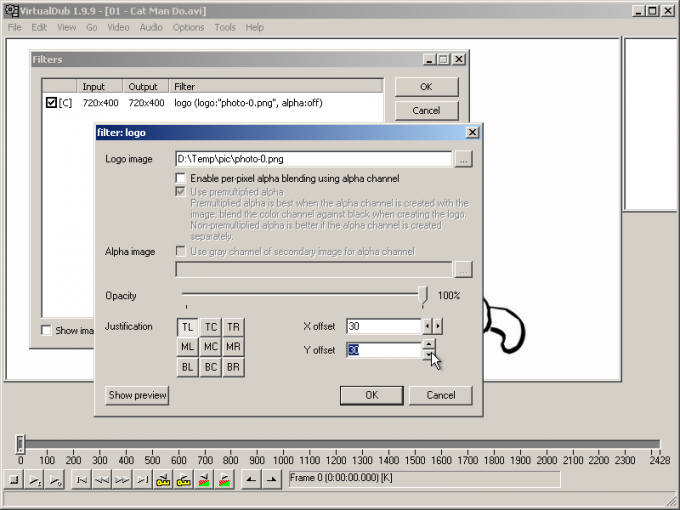
4
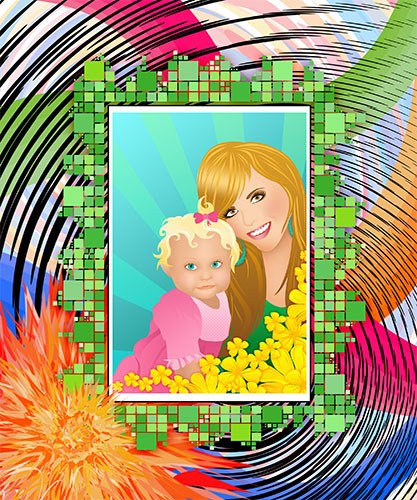
Perform the configuring of the added filter. In the dialog "filter: logo", click the button located to the right of the text field Logo image. Select the file photography, which must be inserted in the animation. If necessary, activate the option that allows you to apply photo given the translucent areas. Determine the degree of transparency of the entire image using the Opacity slider. Use the controls group Justification to change the position photo in frame of the animation.
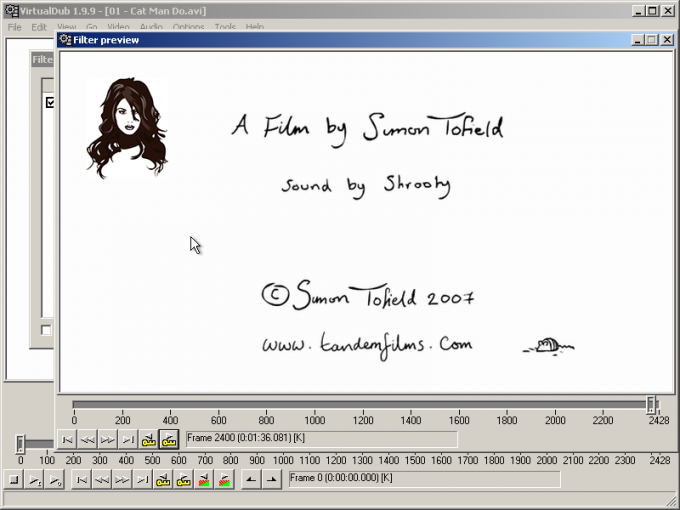
5
Save filter settings. Click Show Preview and make sure the correct location add photo. Click OK in the open dialogs. If necessary, check the correctness of the result by viewing the rendered animation frames in the corresponding pane of the main window (its display is activated by pressing F10).
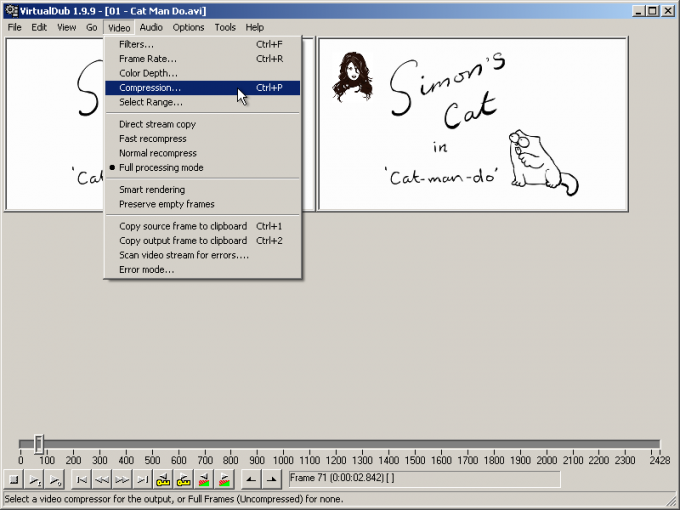
6
Customize encoding parameters in the output if the animation is saved in AVI format. In the Audio menu select Direct stream copy. Press Ctrl+P on the keyboard or select the "Compression..." Video section of the main menu. Select the preferred codec in the list in the displayed dialogue. If necessary, adjust it by pressing the Configure button. Next, click OK.
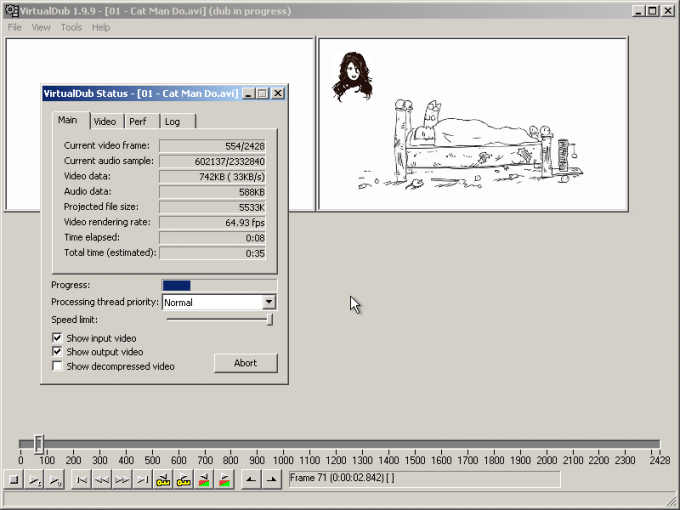
7
Save the animation. Select the item File of the main menu (e.g. "Save as AVI..." to generate the file in AVI format) or subsection Export (for example, "Animated GIF..." to create a GIF animation). Specify the output file name and other parameters. Wait for the recording process.