You will need
- - Photoshop;
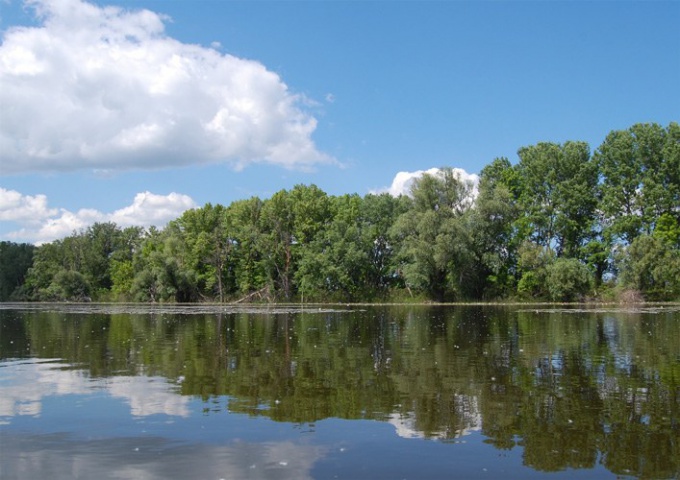
- image.
Instruction
1
Upload the picture to which you wish to add a reflection, in the graphics editor. Unlock the image by double-clicking on the icon that looks like a castle on the background layer and duplicate the layer with the Duplicate Layer option from the Layer menu.
2
The default canvas size for the document size matches the size loaded in Photoshop pictures. In order to document enough space on the reflection, increase the canvas size by going to the settings option Canvas Size menu Image. Select percent as the unit and check the Relative checkbox. If you are going to flip an object horizontally, increase fifty percent the width of the canvas. In order to place a copy of the image, reflected vertically, insert a value equal to fifty percent, in the Height field.
3
Apply to the copy source layer the option Flip Horizontal group Transform Edit menu, if the plane in which the reflected object is located to the side of it. To reflect vertically, use the Flip Vertical option from the same group.
4
If necessary, hide parts of layers that should not be visible in the final image. To do this, add to each of the copies of the pictures of the mask by clicking Add layer mask and select the area to be transparent, Rectangular Marquee tool or the Polygonal Lasso. Fill with black color mask in the highlight area, applying Paint Bucket Tool.
5
Make remote from the object of the reflection more transparent, applying to the mask a gradient. If you have already edited the mask on the layer with the reflectionm, I load the selection option, Load Selection menu and Select invert it with the Invert option in this menu. Turn on the Gradient tool and select from a palette of samples of the grayscale gradient. Fill the selected area of the mask with a linear gradient so that the white color was superimposed on a part of the reflection that is closer to the original object.
6
If the scope of reflection, are close to the source became clear invert color gradient by selecting the Invert option in its settings, and refill the selected area of the mask.
7
By clicking on the button Add a new layer, add to the document a new layer and fill it with a color, which needs to be painted reflective surface. If you simulate a reflection in water, can choose the background the darkest of the colors of the sky in the picture. Move created layer below both images.
8
If necessary, deform the reflection to give the image more realism. If an object reflected in a convex or concave surface, change the form of the copy of the original layer group Warp option Transform the Edit menu. To create the effect of ripples on the water, apply the option group Wave Distort Filter menu.
9
Save the picture with the reflection ofm in the psd file Save As option the File menu, if you're going to continue with the editing. To view save the image as a jpg with the same options.