You will need
- - stairs;
- - hammer;
- roulette and level;
- - nails;
- - thick thread;
- - bars 50x50 mm;
- - a spatula and a filler for plasterboard;
- - wooden slats;
- - gypsum plasterboard;
- - paint;
- - sandpaper;
- - moldings.
Instruction
1
Beat in the lower part of the first ceiling beams a few nails. Leave at least ten millimeters of the length of the nail stick out. Do the same with the latest beam.
2
From the first beam to the last pull the thread, securing it for the nails and check the result level. Your task is to achieve flatness. If the beams are crooked, measure the distance with a tape measure.
3
Tamp on the beams of the wooden slats, thereby achieving the same height. Prepared nail boards to the wall, just be careful: they have to be parallel beams and to be on the same level, not above or below.
4
Cut the sheets of plasterboard and nail them so that you have the joints must have passed through the beam. Observe the distance between nails is 25 inches. Along seams, apply the putty and gently flatten it out. Press the tape for plasterboard in putty, and on top apply another light layer and let it dry completely. Don't forget to cover up the holes from the nails.
5
Place sutures carefully where you want to locate a special fine-grained emery paper. Decorate the ceiling around the perimeter moldings – this will add some zest to your interior. And on top of ink.
6
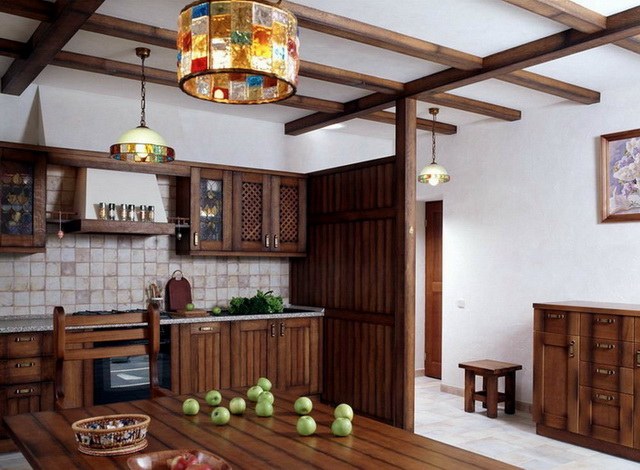
In addition, to hide the beam, if it is beautifully decorate, for example, to insert it into the led lamp one or several colors, wrought beam drywall and paint varnish. If one beam and divides the middle of the room, it can be nice to decorate and lay on the wall.
Note
During operation for security purposes, use any protective goggles. This will allow you to protect your eyes from dust and debris.
Useful advice
If the beams are from each other at a distance of more than 60 inches, you need to nail the extra cross rails or beams. Do not take too thick plasterboard sheets, otherwise then they will start to SAG.
