Instruction
1
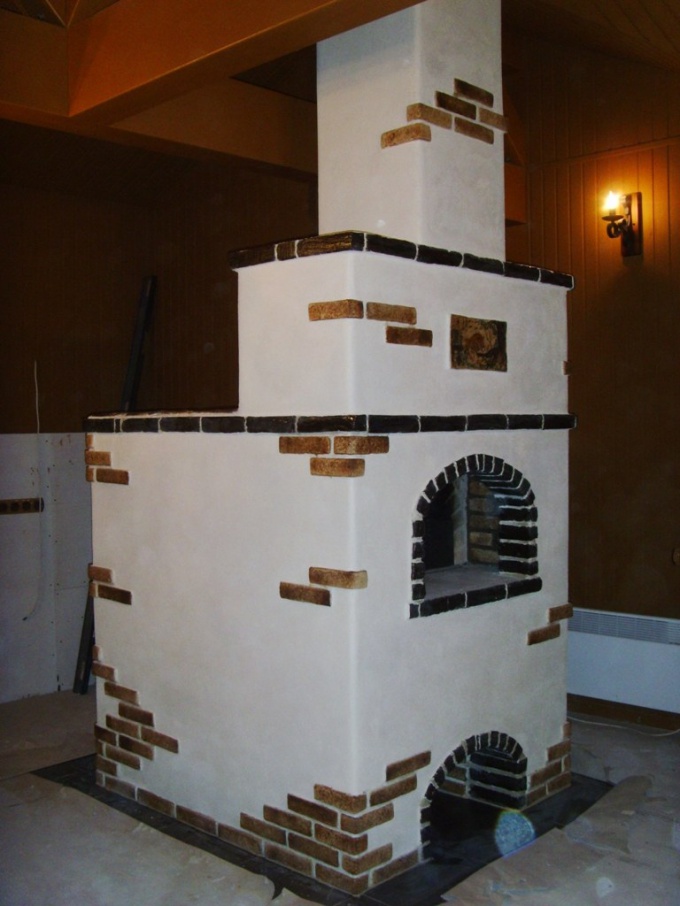
Engage in preparatory work. Clean the furnace from a clay solution. Pay special attention to the seams. They must be clear to a depth of 1 cm After that, the seams drive in nails that have a length of 100 mm. it is Desirable to score them under the corner. Hats must be above the surface at 5 mm intervals between them should be no more than 15 cm To the nails with a soft kiln wire, attach the braided mesh that has cells of no more than 20x20 mm. Will create additional roughness that is capable of providing more reliable fixation of the solution on the surface of the stove. If the mesh is too soft and tight to the furnace, then under it lay steel wire 3 mm thick. Attach it to the same nails.
2
Plaster can only hot-wall furnace. For the start of their soak water. Then apply a creamy liquid solution. This layer is called the scratch coat. Wait, he needs to get stronger. Then apply a second layer of mortar – ground. It needs to have a thickness of about 5-7 mm. the Soil also should be well set. Now we can move on to the final levelling of the surface. If the plaster has a thickness of 18-20 mm, then apply the solution in three steps. It is not recommended to cover the ground pure gypsum test. It will lose its strength at the grout.
3
Grout is best done after complete setting of the solution. For this purpose, use wooden, metal or plastic trowel. You will also need a normal brush. With a brush moisten the surface with water and using a grater make the grout. Plaster should be clean and smooth. Missed and protein should not be. If after drying you notice cracks, then expand them, moisten with water, apply solution again and power trowel.

