You will need
- computer, photoshop
Instruction
1
Go to quick mask mode by clicking the icon marked with red circle. In this mode, you can mask those areas of photography that you want to leave sharp. Later, when you want to apply the filters of blur, they will not affect these areas.
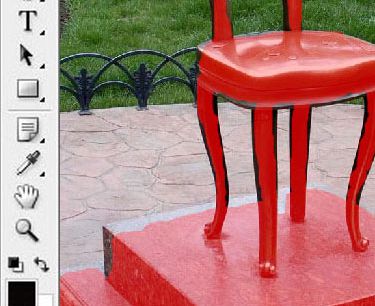
Choose the brush tool on the tools palette (press B). Take a medium size brush and paint the areas you want to leave unchanged. At this stage you do not need to be too neat.
By default, the painted area will be covered with red veil. This will not affect the image.
Choose the brush tool on the tools palette (press B). Take a medium size brush and paint the areas you want to leave unchanged. At this stage you do not need to be too neat.
By default, the painted area will be covered with red veil. This will not affect the image.
2
After the mask will be ready in draft form, take a thinner brush and worked out the details. The more complex and fine details you have to work out, the smaller should be the brush. At this stage it makes sense to zoom in to the picture.
This process requires a little dexterity. If you accidentally painted over the excess area, you should choose the eraser tool (E key) to erase the excess.
This process requires a little dexterity. If you accidentally painted over the excess area, you should choose the eraser tool (E key) to erase the excess.
3
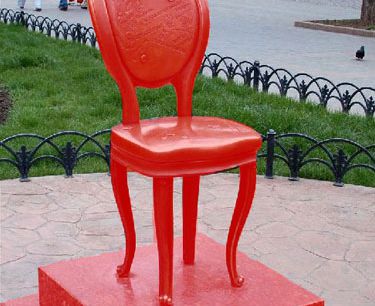
Once the mask is ready, press the Q key to return to normal mode. The red veil disappears, and the whole uncloaked region will be highlighted. All subsequent steps will only affect this selection.
4
Choose the Filter menu: Blur/Gaussian Blur" (in the English version of Filter/Blur/Gaussian Blur) to blur the background. In the dialog box, choose the appropriate blur radius and click OK. In most cases, the blur radius will be from 1 to 3 pixels. But, of course, with each photo it is necessary to understand separately. Try playing with the settings, trying to find the best option.
On this account there are only a few General recommendations. For wide angle pictures (that is, if the image contains a large area of space) you should not try on too strong blur. If you set a too large blur, the result will look unnatural.
After applying the blur effect, press Ctrl + D to deselect, and finally save your image.


