Instruction
1
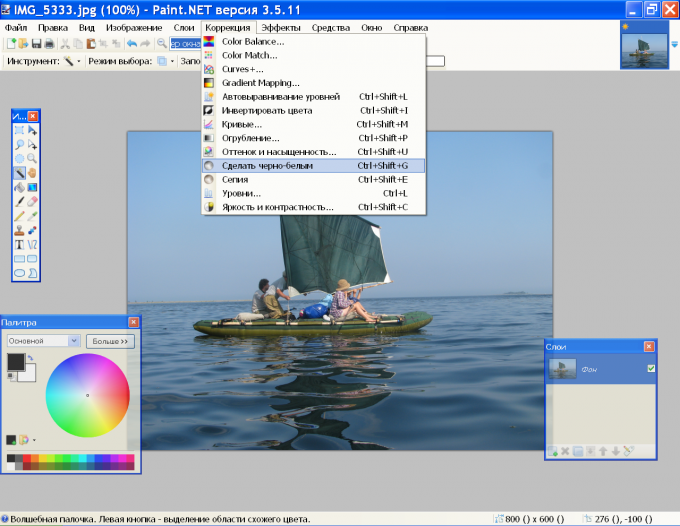
Open the image with the command "Open" from the menu "File". Go to menu "Correction" and choose "black and white". You can also use Ctrl+Shift+G.
2
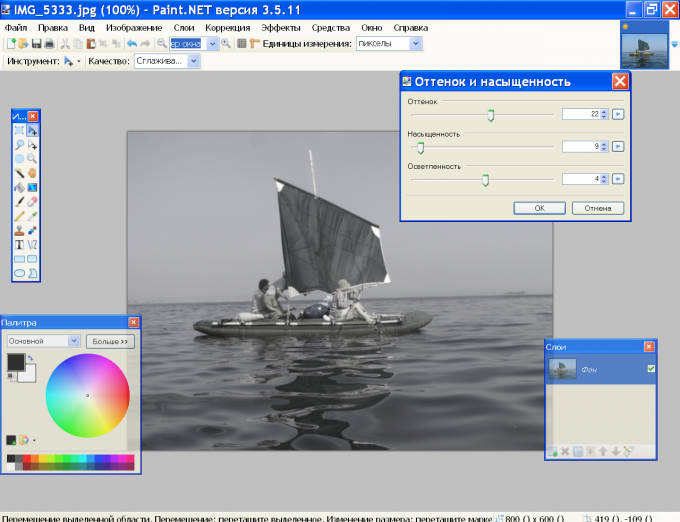
There is another way. In the same menu "Correction" and click "Hue and saturation" or press Ctrl+Shift+U. Moving the sliders, adjust the "Saturation" and "Lightness" before the photo becomes black and white.
3
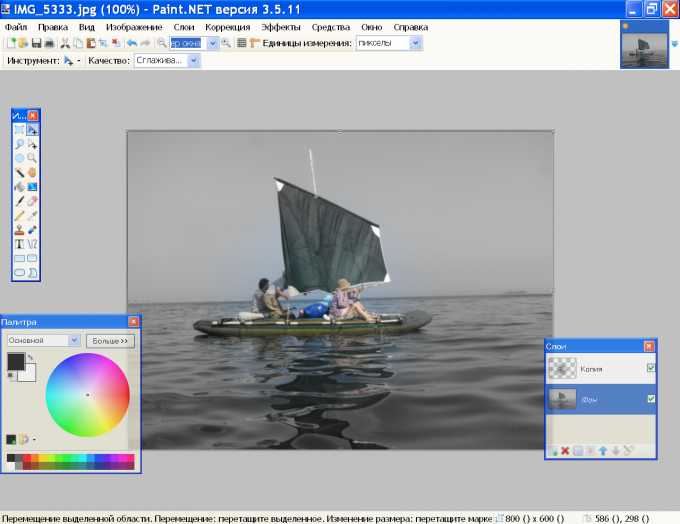
You can make black and white not the whole picture, but only part of it. Duplicate the layer with the image. To do this, click on the icon "duplicate layer" on the layers panel, or press Ctrl+Shift+D. On the bottom layer uncheck the parameter "Visibility".
4
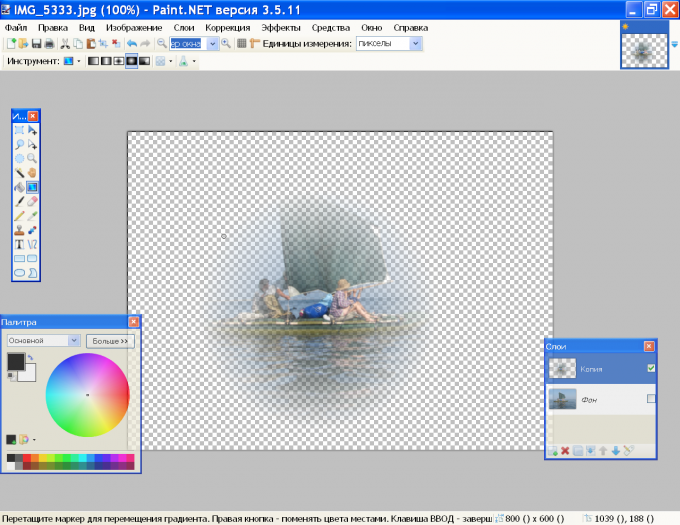
Activate top layer (copy). On the toolbar, click the "Gradient". In the properties panel, specify the gradient type. It depends on your plan. If you want to keep color to a certain detail of the image, choose "Radial". If the boundary between black and white and the colored portion is conventionally a straight line, it is more suitable for "Linear".
5
Right from a group of types of gradient is a window with a list of "Color" and "Transparency". Choose "Transparency" and drag a line from the planned fragment in either direction. The photos will be invisible.
6
Go to the bottom layer and turn its visibility tick box. In the menu "Adjustments," click "black and white" or use the hotkey. Now your photo is black and white except for one color area.