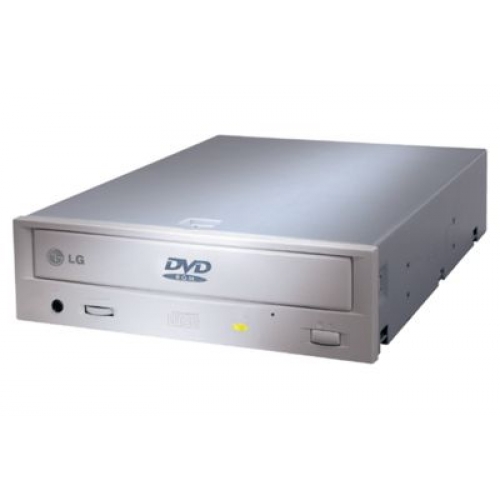
Instruction
1
Turn off and completely unplug the system unit of a computer. To connect the drive DVD, remove the side housing cover – this will allow to access the motherboard and the stuffing of the system unit. Previously on the front side of the housing remove the plug in the place where you want to connect the drive DVD.
2
Depending on which interface the data exchange between the devices and the motherboard supported IDE or SATA connection driveand will be slightly different. Overall, however, the installation principle remains the same. The connection interface is easy to visually identify. IDE cables are attached to a wide multi-pin connectors. The SATA interface uses a narrow thin connector. At the same time on the IDE cable can connect two devices and SATA only one. Also the device of IDE interface require manual configuration of priority. Special jumpers-the jumpers are set the corresponding status of the equipment Master or Slave.
3
Having dealt with the interface, connect the wiring connectors to the corresponding outputs on drivee , DVD. Don't forget about the wire that supplies the power. Insert the drive DVD in a special thread provided by the design of the system unit. Secure it with small screws.
4
Turn on the computer. In the beginning of the download, the motherboard should detect the drive DVD, bringing information about it to the screen. If not, go into the BIOS and specify the drive the DVD force.
