You will need
- - the rights that allow the change of properties of the network connection on the local machine.
Instruction
1
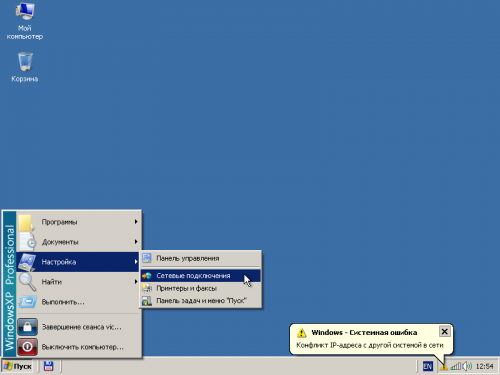
Open the folder network connections. Click on the "start" button located in the taskbar of the desktop. In the opened menu select "setup". Click on "Network connections".
2
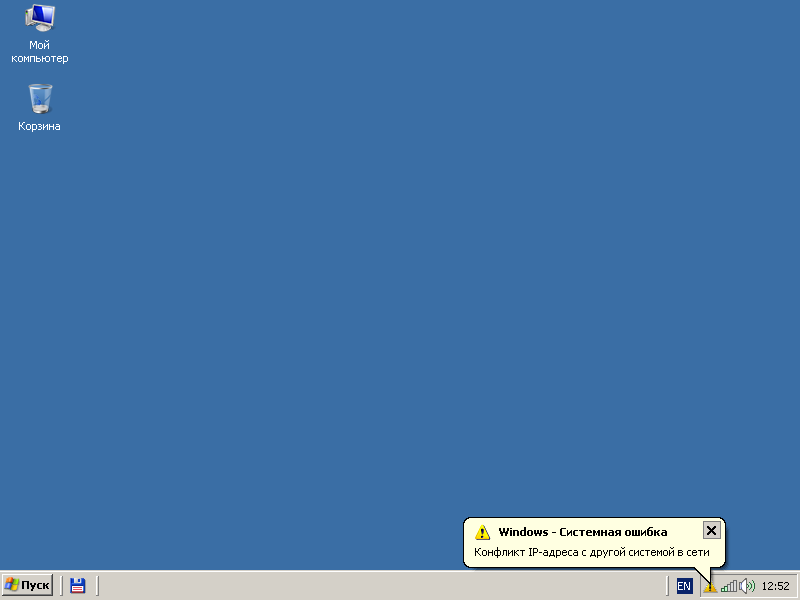
Activate the mechanism to automatically correct problems with the network connection. Click the right mouse button on the icon corresponding to the network adapter has an IP address conflict with another system on the network. A context menu will appear. Select "Fix".
3
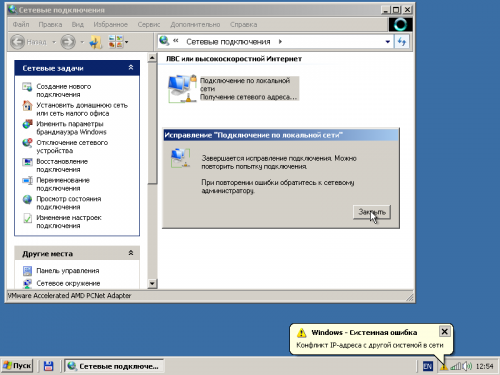
Wait until the process is automatic repair of connectivity issues and check the result. After committing the actions of the previous step, a dialog box opens. It displays information about the process of error correction. After its completion, press the dialog button "Close" and check the network. If the problem is not resolved, continue to the next step.
4
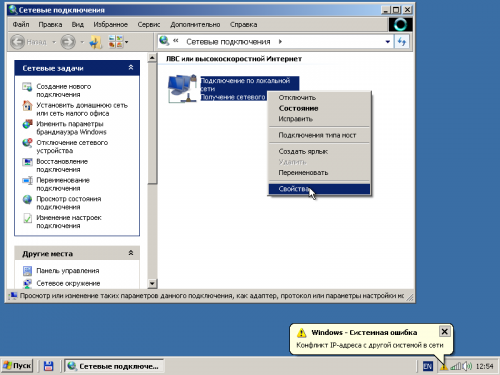
Open the properties dialog for the network connection. Click the appropriate shortcut, right-click and select "Properties" from the context menu.
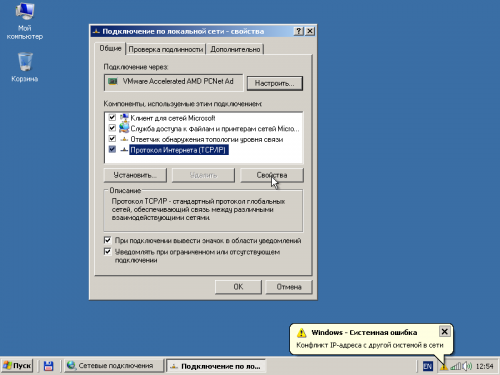
5
Open the settings dialog, network Protocol TCP/IP. In list "Components used by this connection" dialogue that appears, highlight "Internet Protocol (TCP/IP)". Click "Properties".
6
Change the IP address of the machine in the dialog "Properties: the Internet Protocol (TCP/IP)". Select "Use the following IP address". In the controls "IP address", "subnet Mask" and "default gateway", enter the appropriate values. They can be obtained from your system administrator or Internet service provider.
If the option use static IP address was already active, and its parameters are already set, the desired result can give change the last component of the address.
If the option use static IP address was already active, and its parameters are already set, the desired result can give change the last component of the address.