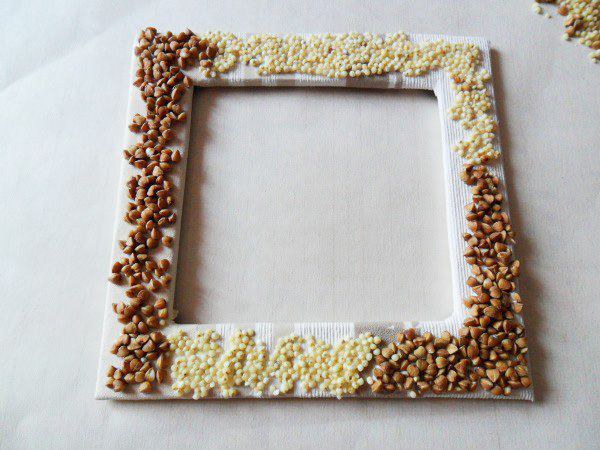
You will need
- Wooden slats or the floor, pencil, tape measure, furniture stapler, a fine-toothed hacksaw, a mitre box, spray bottle with spray paint or acrylic paint, clear lacquer, primer, brush, plywood, fine sandpaper, thick lace, PVA glue.
Instruction
1
Measure tape your picture or another piece that you plan to include in the frame.
Mark with a pencil the size of the picture on the wooden slats.
Mark with a pencil the size of the picture on the wooden slats.
2
Place the strips in the mitre box. Hacksaw with fine teeth make slanting cuts at 45 degrees. Carefully where you want to locate the corners.
3
Collect the frame on a hard surface.
Over the two corners with white glue, press them tightly to each other, hold until the glue sets. Thus, glue all the corners of the frame.
Flip the frame facedown. Attach the four corner of the plywood furniture stapler. Strengthening the corners of the frame, get stronger and more rigid construction. Attach the loop.
4
Cover the entire wooden frame with primer in two layers. After each layer of sand the frame with fine sandpaper until the surface becomes completely smooth. Dry the frame.
