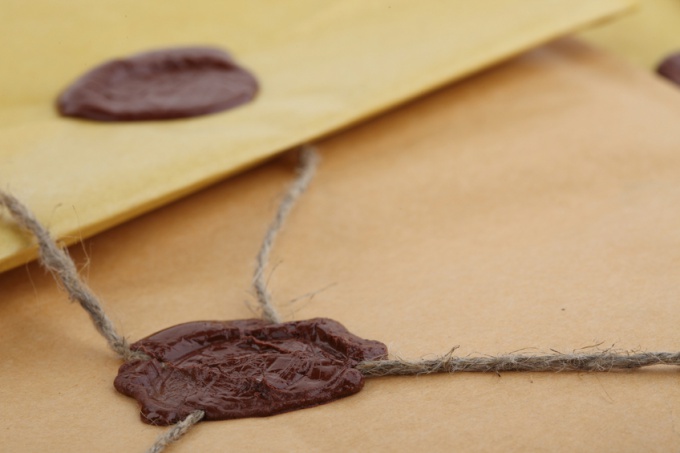
You will need
- - ready solid wax;
- - shellac (resin);
- - turpentine;
- - cinnabar (or other dye to your taste);
- - magnesia (talc, chalk, gypsum or other fillers);
- - turpentine;
- - essential oil (optional);
- - capacity for melting;
- - tin plate;
- - spoon;
- printing;
- - fat.
Instruction
1
Choose the right Souvenirs letters and gifts, it will save you from many troubles associated with the preparation of sealing wax at home. Are usually sold sets (both domestic and imported) with wax sticks of different colors and brass seals. Convenient to use special candles – simply light the fuse, and the molten liquid drip on the sealing surface.
2
Buy a pre-packaged lump of wax, if you need to prepare a lot of mixture. These raw materials (like wax sticks) would have to melt. You can buy a special heater–surgeoncy and act according to the instructions. For melting sealing wax also use household utensils; recommended Turk from stainless steel with heat resistant handle or enameled cast iron.
3
Try to make a mix for wax. First you need to melt in a suitable container shellac, turpentine and vermilion in the ratio of 12 parts, 8 and 9). Constantly stirring the mass until it becomes mushy and smooth. Then enter in the small portions a mixture of magnesia and turpentine (3 and 2 parts). In a homemade wax can be entered and other additives: finely crushed chalk, gypsum, talc or heavy-spar; dear shellac is permissible to replace the more affordable rosin.
4
Wait until the surface of the molten homogeneous mixture bubbles appear. Once everything is thoroughly stirred. Next you need to take with a spoon a sample of the resulting wax. Drip it on a piece of tin – substance hardens quickly, and you will be able to evaluate its color and density. If necessary, the hot mass is possible to add the dye, to increase the number of fillers and drip some essential oil. Try wax paper. If it is quality, it should not bounce off the surface, spread out and penetrate through the structure of the sealing material.
5
Remove the wax from heat and let cool slightly. Now you can do print. You can use the special souvenir brass seal with a handle, which is recommended to lightly grease. Making the stamp, sharply lift the seal. If you need to seal a large number of items, dip them into a viscous mass.
