Instruction
1
Download the app photoshop and create a new file. On the top menu bar, click File -> New and there specify the parameters of the future image in width, height and resolution, do not forget to specify in the "Content background is Transparent.
2
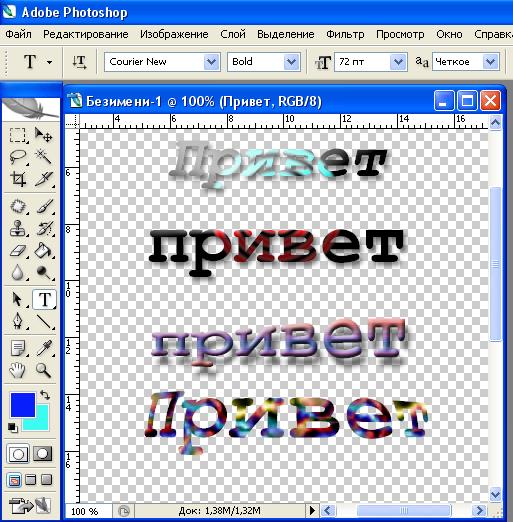
In the toolbar, select the button on which the drawn letter T, it is called "Horizontal text". By pressing it, select a rectangular area, which will be our sign. Appeared in the top toolbar of the textand select its font, height, color and other parameters – italic, bold, accommodation.
3
Enter text. Experimenting with different strains is possible by clicking on the top control bar of the textom the button that says "Warp text". In styles there are various aberration, the possibility of writing his arc, wave, etc.
4
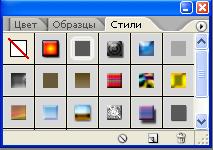
To change the label style can be in the "window Styles". To do this, activate it by clicking on the top menu bar of photoshop, item "Window" -> "Styles". Additional styles can be downloaded from the Internet and to expand their offer the default program set. Change the label style, selecting not only the style, but his parameters by clicking into the window style button Add layer style".
5
When you are finished creating labels, you can trim the excess whitespace, leaving only the inscription. On the main menu bar select Image -> Trim, and indicate that trimming should be done on the basis of transparent pixels. After that, save the file in PNG or Gif to preserve the transparency of the layer, on which is written the text.

