Instruction
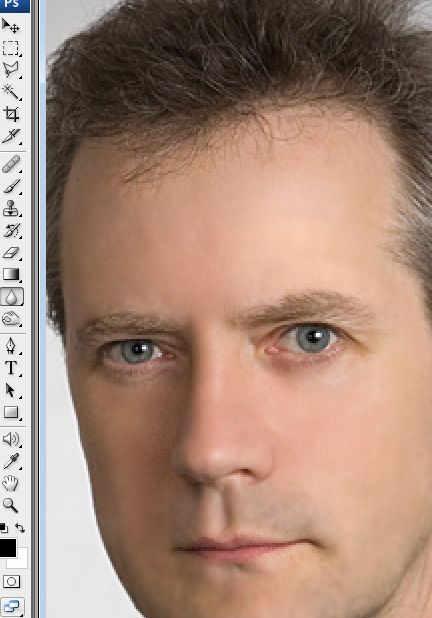
1
Duplicate the layer with the original photo and work on the copy. Open the menu section Image, select Adjustment in the popup list, select Shadow/highlight. You will see the adjustment window of light and shadow.
2
Move the controller, observing changes in the picture until the result in the form of bright and dark areas does not suit you. If some elements of the picture become lighter or darker, although you're not wanted, take the background eraser and erase unwanted areas.
3
Another way to remove the shadow from the person is using the tool to lighten (Dodge) which can be found on the toolbar in the left part of the program. In the same way as in the previous example, duplicate the layer and select the desired instrument.
4
Set the color set the exposure to 25% and set the range to mid-tones. Moving the mouse cursor, lighten specific parts of the face model.
5
Also you can lighten the photo using the blending modes of the layers. For this you will need two of the same layer with the original and double image. In the section Blending mode select Screen and you will see that the picture became noticeably brighter.
6
Adjusting layer transparency, you can slightly decrease the lightness. Large eraser with soft edges to erase everything except the person – therefore, the photo will retain its original tone and face will become noticeably brighter.
7
To adjust the light sources you can open the menu option filter Render>Lighting effects.
For the best quality photo correction it is best to use all described methods, combining them in retouching and photo processing.
For the best quality photo correction it is best to use all described methods, combining them in retouching and photo processing.