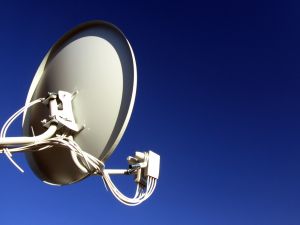
You will need
- Satellite dish, Assembly instructions, tuner, TV, DISEqC, hammer, anchor bolts, compass
Instruction
1
Select a location to install the satellite dish. This requires open area from the point of installation on the satellite. All known satellites are in the South-West to South-East direction
The most highly located above the horizon satellites that are directly to the South. Good signal reception can interfere with any obstacles (trees, houses, power lines) on the line that connects the antenna and the satellite. The antenna must be in an easily accessible place, this is especially important for a setting.
The most highly located above the horizon satellites that are directly to the South. Good signal reception can interfere with any obstacles (trees, houses, power lines) on the line that connects the antenna and the satellite. The antenna must be in an easily accessible place, this is especially important for a setting.
2
Install the bracket. Use the hammer drill for drilling brick or concrete walls. In concrete or brick (silicate) wall bracket install on a special metal anchor bolts into the wall from porous bricks or red, you should use anchor bolts with plastic fillers.
3
Assemble the satellite antenna. To do this, use manual. During Assembly, carefully handle mirror antenna, to avoid accidental mechanical damage, which can affect the geometry of the mirror. After Assembly, check the tightness of all fasteners.
4
Install multifeed, two additional mounting converters: bottom left on the satellite "Amos" in the center – the "Sirius" and the top right on "Hot Bird". The result is "imaginary arc", which copies the position of the respective satellites in orbit.
Connect the cable to the connector with F connectors mounted on the cable without soldering:
1. Strip at the end of the PVC cable 1.2 cm of the top layer.
2. Tuck the braid shielded with foil in the opposite direction.
3. Cut the inner filler, so that there is about 3 mm.
4. Install tight F-connector on the cable as long as the inner filler does not seem out of the bottom of the connector. Bite the copper core so that it is 2-3 mm beyond the edge of the connector.
Remember, some of the wires coming to the converters, which are respectively connected to the outputs of the DISEqC switch: Amos – port "1" or port "A" port Sirius respectively "2" or "B"; Hot Bird port "3" or "C".
5
The correct adjustment of the satellite antenna. Tighten the screws so to be able with little effort to move the antenna left and right, up and down, but without applying effort to the antenna must be stationary. Start scanning the sky around the selected point.
The setting is done with an instrument or tuner and TV. Will put the tuner port DISEqC switch as was connected to LNB to the DISEqC switch. Connect the DISEqC switch with the "LNB IN" input of the tuner. Select any channel tuner with Sirius satellite, usually it's already "stitched" all the channels for dish. Look in the menu of the tuner scale setting of the signal level.
The setting is done with an instrument or tuner and TV. Will put the tuner port DISEqC switch as was connected to LNB to the DISEqC switch. Connect the DISEqC switch with the "LNB IN" input of the tuner. Select any channel tuner with Sirius satellite, usually it's already "stitched" all the channels for dish. Look in the menu of the tuner scale setting of the signal level.
