You will need
- We will need the program Adobe photoshop any version over the last ten years. The manual is written for the most difficult situations, when the menu of the Photoshop source is English and not localized for Russian users. Even under these circumstances, it is possible to adequately cope with the task.
Instruction
1
Versatile and favorite tool designers, program Adobe photoshop, is the third decade of improved and complicated, in fact, being a standard and a benchmark for any kind of graphical programs created in the world these years. To possess it means to reach the professional level. Many hundreds of techniques and effects image processing available in photoshop, but as often happens, than heaped and respectable technique, the harder it is to get her to serve you press a "magic button". But nothing is impossible for the pros.
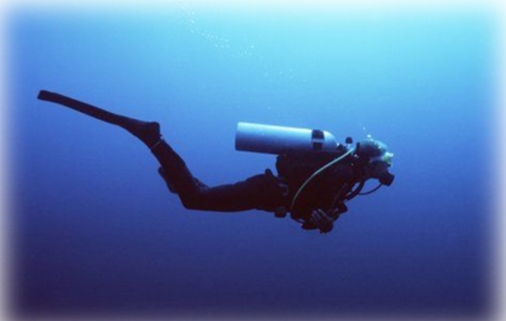
Downloadable original image. First of all, we need to decide what will remain in our picture is untouched, and touched with "nebulous haze". Now use the selection tool:
- if we just need to blur the edges of a rectangular image, use the Rectangular Marquee tool. Draw a rectangle, retreating some distance from the edge of the image.
- if we need to allocate an object of complex shape, then you can use the Lasso tool. Carefully outline the object that will remains effect.
Anyway, we got a mask that defines the area of effect: see us on the desired contour of the "marching ants" shimmer selection indicator.
2
And now press some magic keys. Ctrl+Shift+I (that is, hold down the keyboard Ctrl and Shift, press Latin I). Now, the ants began to turn the area from the edge of the image to inviolable object. This way, we've inverted the selection. Also you can do it, groped in the menu Select>Inverse, but agree that it is somewhat longer than press Ctrl+Shift+I
3
And now one more combination. Ctrl+J. thus we have created a new layer, which now turned out to be something that will blurry our mystic frame.
(If anyone is interested, this layer is visible in the layer list; you can see them separately by turning off the main image – clicking the icon "eye" in line with the layer of the original image.) If the hot key you don't like to do the same operation using the menu Layer>New>Layer via Copy
Thus, on top of the original image, we have an independent layer over which it is possible to produce any actions to dilute it in any way in any measure.
4
The effects of blur are in a separate submenu (Filter>Blur>). The choice is there for gourmets. For example:
- Gaussian Blur (the Gaussian Blur) – the most natural and pleasing to the human eye. The classic "haze".
- Motion Blur (motion Blur) makes the picture dynamic.
- Radial Blur (Radial blur) can create the impression of a rapidly receding or Vice versa flying at the viewer object.
Varying the parameters, you can achieve a very different and tasty results.
5
Another handy addition: as it is subject to change frame is on a separate layer, then strengthen or weaken the effect of changing the parameters of this layer – for example, its transparency (the Opacity option) upstairs in the panel layers, or by changing the mode to overlay on the original image. So, switching the setting to Multiply or Lighten , it is possible to achieve the effect of vignette – darkened or, alternatively, an exposed edge of the picture. Experiment enough.
6
When finished layering, you can combine all the layers into a single image. This is done in the menu Layer>Flatten Image.
So, if we don't need special experiments, just download the image, make a rectangular selection, press Ctrl+Shift+I and Ctrl+J, then in the menu Filter>Blur find Gaussian Blur, move the slider to achieve the result we need, OK. And return the picture to the technical unity of command Flatten Image.
So, if we don't need special experiments, just download the image, make a rectangular selection, press Ctrl+Shift+I and Ctrl+J, then in the menu Filter>Blur find Gaussian Blur, move the slider to achieve the result we need, OK. And return the picture to the technical unity of command Flatten Image.
