
Instruction
1
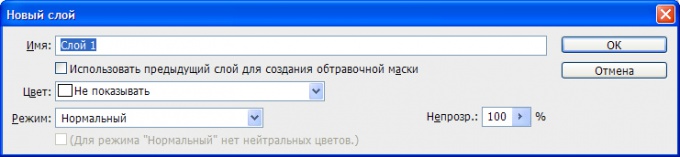
New layer will create only if you have opened any document. There are several ways to create layers. The first of them. In the main menu, select "Layers" - "New" - "Layer." A window will appear. In it, you can enter the name of the layer to determine its color and select overlap mode, if needed. Click "OK". The layer is prepared.
2
The second method. In the right part of the workspace you will find a panel working with layers. In the upper-right corner there is a icon in the shape of a small arrow and a few stripes. Click on it to bring up the menu. Select "New layer" and you will see the same window as in the first step.
3
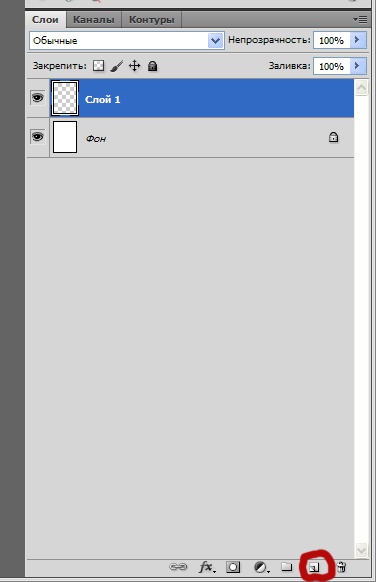
The third way. On the panel of layers at the bottom there are several small buttons. Select the icon that looks like a sheet of paper with a bent corner. Click it and a new layer immediately appears. Opens the new layer will not. The parameters are set automatically: transparent background, normal blending mode, layer1,2,3" or other number in order.
4
The fourth and last way is perhaps the quickest. Press Shift+Ctrl+N. Before you again a window will appear create a layer. Select the desired options and click OK. These four options are to create a clear layer.
5
However, there is often a need to create a layer with the filling. Suppose you've opened a photo. It is automatically placed on the layer "background". You need to create a copy of this layer. To do this, simply drag the original layer to the icon that we talked about in step 3. A new layer will appear with the name "background copy"
6
Another way to create a new layercopy. Right click mouse on the layer "background" and in the drop-down menu, select "duplicate layer". A window will appear where you can enter the layer name and the location where will be placed the copy (the document or create a new). Assign everything that you need and click "OK". The layer will appear and be ready to work.