You will need
- - a sheet of paper,
- pencil,
- - line
- - the eraser
- a pair of compasses,
- - colored pencils and pens, paint, pastels, markers at will.
Instruction
1
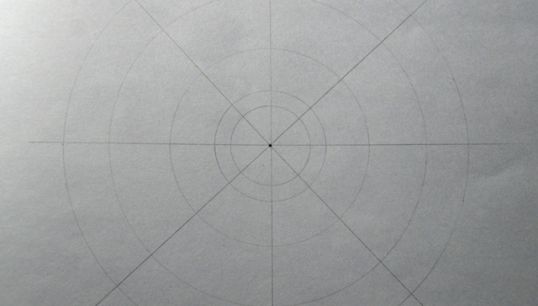
Take a compass and draw several circles of different diameter, relative to one Central point. Divide the lines into equal sectors, as shown in the photo below, and go to step 5. If the compass is not, then you can take any circular objects and circle them on the paper along the edge.
2
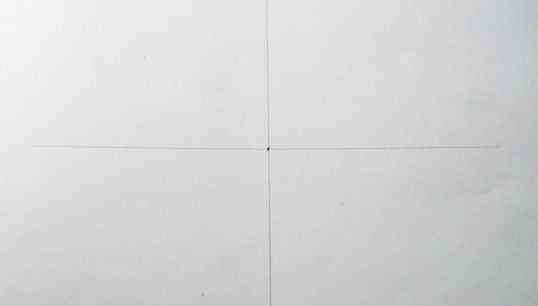
If there is no compass, you can try to gently draw circles for the future of the mandala with their hands. For this line you must spend 2 perpendicular lines. The point of intersection will be the center of the mandala.
3
With a protractor or by eye it should be noted points, the angles between the main lines, equal to 45 degrees and connect them with 2 lines passing through the center of the picture.
4
At the same distance from the center point on the lines mark the location of the main circles within the mandala and connect the notches with smooth curved lines.
5
Draw in the center of a small circle, square, asterisk, or any other symmetric relative to the Central point figure on your taste.
6
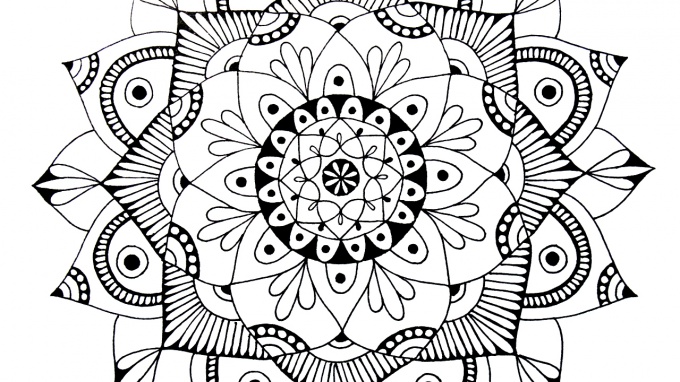
To begin to fill out the mandala designs and patterns best with the center, gradually moving to the outer circle. Ornament may consist of geometric shapes, but even from vegetable and animal motifs. Important - observe symmetry, consistently repeating elements.
7
Once you decide that the pattern of the mandala is completed, it is possible to trace the essential elements of a liner, a marker or pen. Next is to erase with an eraser the traces of a simple pencil, to the drawing of the mandala looked neater. Also you can paint the mandala with paints, markers or crayons as you want.


