You will need
- - Phillips screwdriver;
- - Flat screwdriver;
- - The instruction on disassembling your laptop model;
- - An antistatic wrist strap.
Instruction
1
Turn off the laptop, unplug the power cord and disconnect all external devices. Close the display and turn the laptop. Remove the battery from the laptop. Put on an antistatic bracelet before work to prevent damage to the motherboard during disassembly.
2
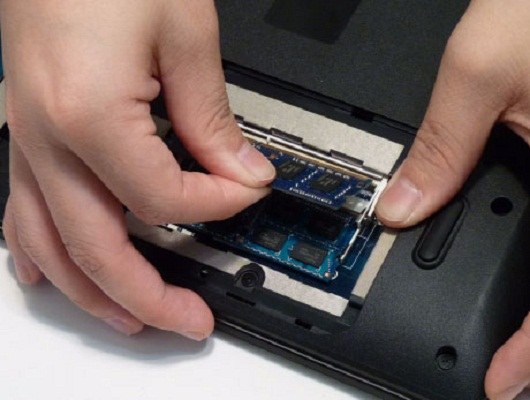
Remove the two screw cover memory module compartment in the lower right corner of the laptop using a Phillips head screwdriver. Remove the cover to access the memory chips. Open the latches on each memory chip. Tilt the chip up at an angle, and pull them out of the nests.
3
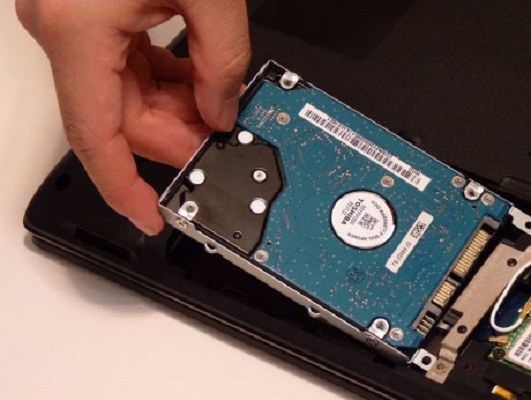
Unscrew the screws of the hard drive Bay. Remove the cover to access the hard disk. Unscrew the single screw holding the hard drive. Gently pull the hard drive and unplug the power cord and data transfer. Remove the hard drive from the compartment.
4
Disconnect the two cables from the wireless module, which is located next to the hard drive Bay. Unscrew one screw and remove the wireless module.
5
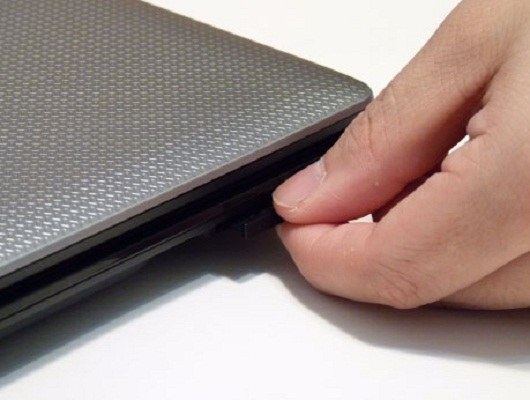
Locate the optical drive. Use a flat screwdriver to open the latch on the side of the drive. Pull out drive through the side opening.
6
Remove all Phillips screws on the underside of the laptop, flip the laptop over and open the display panel. Locate the SD card slot. Click on the slot cover to remove it and pull from the socket.
7
Insert a flat screwdriver into the pad above the keyboard. Carefully remove the lid and turn it over. Disconnect the cable volume from the small circuit Board on the bottom side of the lid. Finally, remove the top cover from the laptop.
8
Press the latches along the top row of keys of the keyboard manually. Disconnect the keyboard ribbon cable from the motherboard and remove the keyboard.
9
Disconnect the monitor cable from the graphics card in the upper left corner of the motherboard. Unscrew the hinge screws that hold the display. Disconnect the display panel from the laptop.
10
Disconnect the touchpad from the motherboard. Unscrew three Phillips screws from the top cover. Carefully lift the top cover to access the motherboard.
12
Install a new video card and follow all the steps in reverse order.