Instruction
1
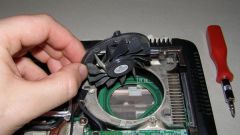
Remove the bolts using a screwdriver, disconnect the connector, remove the fan from the housing.
2
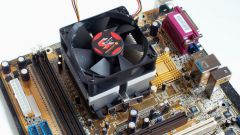
With a brush or cotton swab to gently clean the blades of the fan and its housing. Remove all accumulated dust and dirt.
3
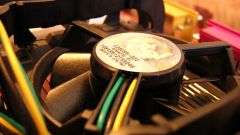
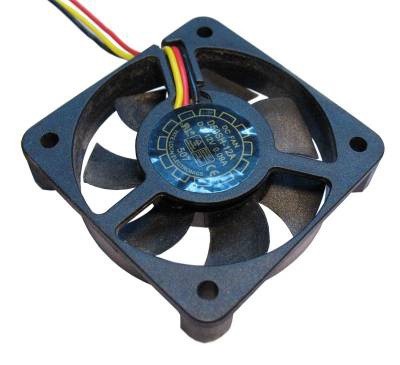
The fan housing should have a round sticker. Peel off the label. Under it you will find a rubber cork. Very carefully remove it without damaging.
4
Under this band you will find the bushing and fan axle which you will need to lubricate. To do this, take the spindle or machine oil. You can also use the joint. For lubrication, apply a little oil on the axle of the fan.
5
The oil should cover it, but not drip too much, because otherwise, when applying the rubber tube, the oil can flow out of the recesses and stain the body, then the sticker will not stick to you back. To more precisely apply oil and it has not spread, you can use a medical syringe. In this case, the lubricating oil must be very liquid to freely flow through the syringe.
6
Grease the can and the inner part of the fan, but it will have to completely disassemble. We strongly advise you to do it yourself, if you are not an expert – layperson will not be able to cope with such delicate work, and you risk to ruin the cooler.
7
Now carefully pull the rubber stopper in place, making sure the oil is not flowed and not contaminated the case. Carefully and gently wipe the housing from contamination. Then replace the round sticker.
8
It happens that the sticker after peeling lost their shape or just not glued in place. It's not terrible, replace it with a piece of ordinary stationery tape, just cut it in shape and size.
9
In reverse order install the fan in place and connect the connector.
Now efficiency of the cooler will increase significantly, it will work once purchased. But remember that after some time from thermal effects, the grease will evaporate, therefore we perform this procedure regularly. Good luck and good work for your cooler!
Now efficiency of the cooler will increase significantly, it will work once purchased. But remember that after some time from thermal effects, the grease will evaporate, therefore we perform this procedure regularly. Good luck and good work for your cooler!