Instruction
1
To connect the sound card built into motherboard, turn on the computer and in the initial boot enter the BIOS by pressing “Del”. Moving around the BIOS using the arrow keys, looking for menu are used to configure the integrated components. Most often it is located on the “Advanced” tab called “Integrated Peripherals”. However, the specific names of the tabs and menus may be different, in this case, looking for wording, similar meaning.
2
Once in the desired menu, we will see a list of all devices installed on the system Board. It's various ports (Serial and USB), controllers, floppy drives, and other components. Among them we are interested in the item “Onboard Audio Controller” which is responsible for connecting the sound card. Then in the settings of this parameter, changing its value from “disabled” to “Enabled” (enabled).
3
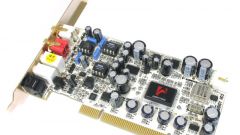
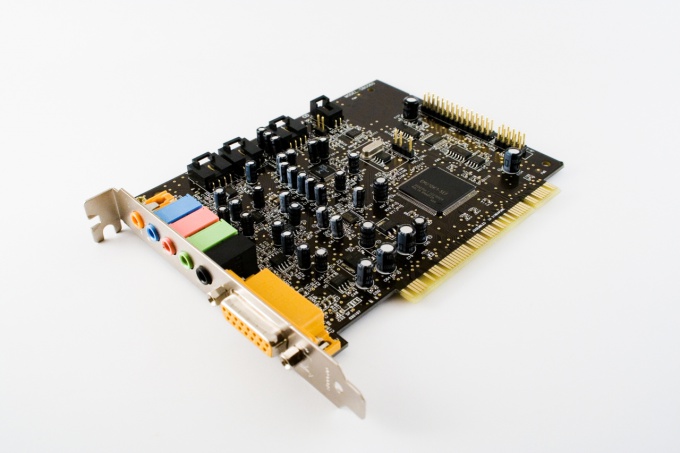
If your computer does not have built-in sound card, you will need to install it directly in the system unit. To do this, fully turn off the power and unscrewing the screws, remove the side cover of the case.
4
Selecting a free slot on the motherboard for the sound card, remove the plugs from the rear side of the housing.
5
Gently holding the sound card from both sides, with a slight pressure, insert it into the selected slot. Check the fixation and the correctness of the installation.
6
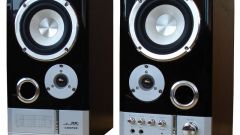
Close the housing cover and connected to the sound card matching plugs coming from the speaker and microphone.
7
After starting the operating system install the necessary drivers to recognize your sound card and its correct operation.