Instruction
1
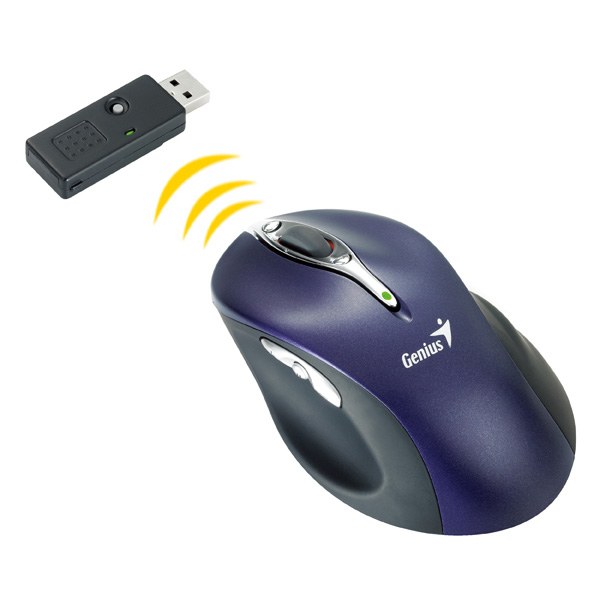
Connect the USB adapter that comes in one set with the mouse, into the USB port of your computer or laptop. Wait for determine the connected device in the operating system, following the notification displayed in the system tray. After automatically detect the driver for mouse Genius, you can proceed to the wireless connection of the mouse.
2
If Windows has issued a notification that the drivers have not been installed, insert the software CD that came with the mouse into the disc drive of the computer. If you drive there, go to the official website Genius. Click on "Drivers" at the top right of the screen. In the list that appears, select "mouse". Click the model of your device and download the files to install the drivers for the right version for your operating system you can specify in the list.
3
After downloading the installer for the driver, run it and follow the instructions on the screen. After notification of the completion of installation, restart the computer to apply the settings.
4
Remove and then again insert the wireless adapter of the mouse into a USB port. Install the batteries in the mouse. In the presence of switch power on the mouse, move it to the On position. If the regulator is missing, after you install the batteries the sensor power supply will immediately turn red.
5
Press and hold the Connect button on the bottom of the mouse. If the key is present on the connector, and hit it, and then wait for establishing connection between the device and the wireless adapter. The Connect button on the mouse and on the adapter need to press at the same time. After about 5-10 seconds the device will be identified and you can begin using them. If the connection fails, remove the connector Genius from the USB port of the computer and try to create the connection again. Setup is complete.