You will need
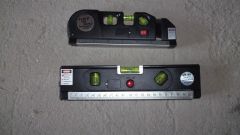
- Specialized calipers, large-scale rake, roulette. If available - stand-template or electronic measuring system.
Instruction
1
Signs of violation of the body geometry can be found in the preliminary examination: crushed body parts, visible changes in baseline (control) points. He preliminary examination is carried out at a raised on the lift car. The underbody or frame is inspected visually and ewupawly hand to detect the characteristic folds. The natural folds in the places of bending of the stamped parts do not count. The presence of deformation of the folds speaks to a certain violation of the body geometry. The pleats may be barely visible or pronounced and placed in locations that do not influence the main dimensions.
2
If folds are detected, check the correct installation of wheels. This control quickly and with high precision can be carried out on an electronic test stand. After control camber/toe for the front axle, check the geometry of the position of the rear axle and the wheels. Thus it is necessary to compare the position of the wheels on different sides of the car. If the position of the right wheel is different from the position of the left, is a violation of the geometry of the body. In the absence of e-stand, the procedure is performed with the use of specialized calipers.
3
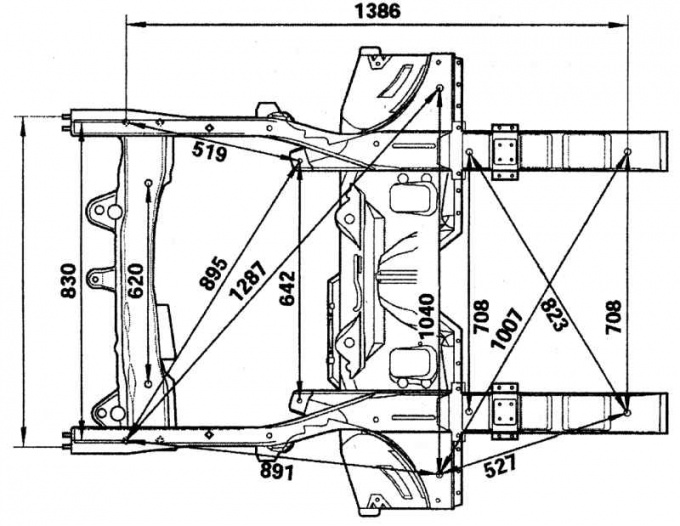
The measurement of the diagonals (control points) without dismantling the mechanical components should be performed according to the instructions of the manufacturer, which is controlling the diagonal are between control points. These diagonals are held between the guide holes of the frame, and from them to the points of mechanical components (mounting bolts) or hinges. Compares the symmetry of the diagonals. Is determined by the distance between the points on one side and symmetrically on the other side. Dimensions should be the same. The difference in these measurements indicates a violation of the geometry of the body. The procedure of measuring the diagonals is if it is set on a lift or on a pit car using a scale of Reiki.
4
Verify using large-scale Reiki starts from the Central part of the underbody or frame. In this part rarely disturbed geometry and it is convenient to use as a reference point for other diagonals. Is determined by the position of the traverse, carried out and measured the distance from the Central hole on the axis of the body to the control points specified by the manufacturer. Diagonal measured between the points of the frame (base body) and points of the front or rear axle. To conduct certain inspections will have to partially remove the specific nodes.
5
In the absence of large-scale rail control with a lesser degree of accuracy can be made using a roulette.
6
You should note that on some cars the distance between the axes of the wheels and located asymmetrically to the axis of the body. Often the axis of symmetry of the rear wheels can be offset relative to the axis of the body. In this case, in the factory the user should be provided a predetermined distance between the axes separately for each side.
7
When checking the geometry of the body can be applied system templates (booth) with seats for the base points. When using this system, the body is installed on the template, and any violation of the geometry is fixed immediately. When replacing large components and power elements of the body this stand becomes a slipway.
8
When checking the geometry of the body with the help of electronic measuring system the coordinates of the base points are determined by a probe or laser beam. The computer compares the measured data with the specification of the manufacturer. This system checks the wheel alignment.
Useful advice
Frequent checks of the geometry of the body it is better to purchase the stand-template or electronic measuring system. It will save a lot of time and effort.


