You will need
- Maple Board, brass rings, a hacksaw, a file, needle file, sandpaper, linseed oil, sheet of paper and a pencil
Instruction
1
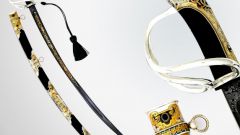
The proposed production version of the handle for a knife makes the process of mounting is simple and allows you to display the visible portion of the cross section of the fibers, making the knife more textured and interesting.
2
On a sheet of paper draw a knife blade, circling it with a pencil. On top of the silhouette, draw the expected sketch of the handle. In the sketch, apply the mesh width of the rings to determine the width of the rectangular workpieces.
3
Prepare a maple Board and saw out the blanks of a rectangular shape. You can use the dimensions of three quarters of inch to inch and a half.
4
Brass cut out lining, which will go to the ends of the handle.
5
The maple blanks using the silhouette sketch, mark the holes on the rings under the tail of the knife.
6
Drill out the hole, then cutter, select the partition and bring the needle file to the desired shape. Lining and part of the handle fit the blade with the tail section. Get the billet arm.
7
Comes the stage of fine-tuning the arm until tender. Initially smoothed with a file the rings to get the whole piece. Now the handle itself is formed. Thus often check with the sketch.
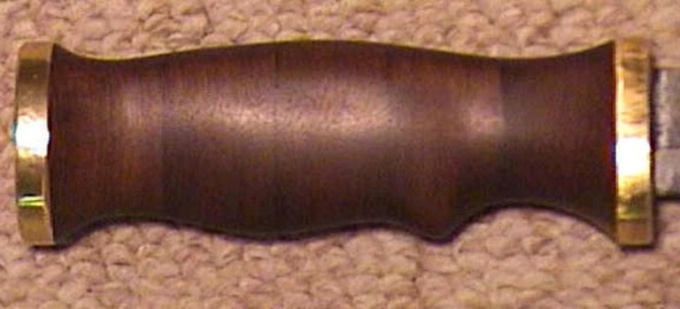
8
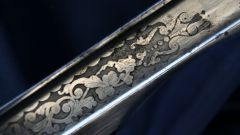
The finished handle should be carefully treated with emery paper of different grits. On a perfectly machined surface of the handle structure of wood is shown in all its glory, playing with natural colors. It now remains to treat the handle with linseed oil. The knife is ready to use.