Instruction
1
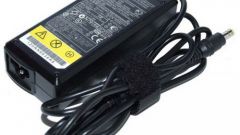
Regardless of disassembly of the laptop you wish to make full or partial, before starting work, disconnect the machine from the power supply and all peripheral devices and then remove the battery.
2
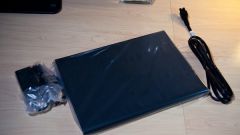
For partial disassembly Unscrew all the screws holding the cover over the memory module and remove it. Then move the levers, the locking of the cassette with the drives (hard drive and optical drive), and then pull the cassette itself. Remove the screws with which the actuators are mounted in cassettes, and remove them. Replace those components which are defective or need upgrading, and then assemble the machine in reverse order. If you want to replace only a single component to remove the remaining do not have.
3
To clean the CPU heatsink, some laptops require complete disassembly, while others have a special compartment. In the second case, remove the screws holding the lid of this compartment, remove it, and then blow out the radiator. Then install the cover.
4
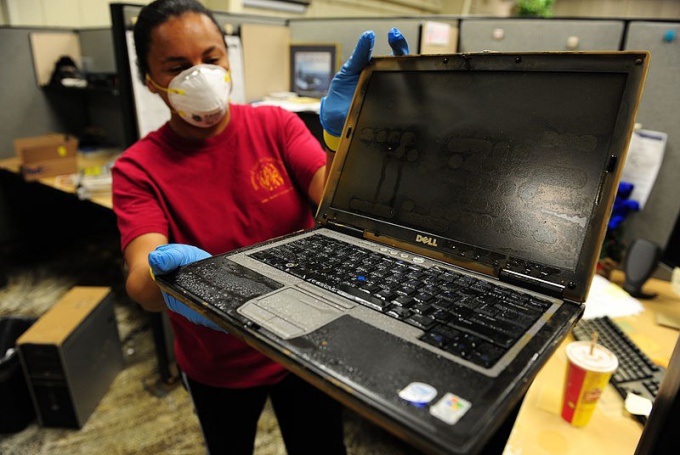
Complete disassembly, start by removing all nodes that are available during partial disassembly. Then remove the two caps located above the hinges of the screen. Pry the false panels located between the screen and the keyboard and carefully separate it. Remove the screws holding the connector, which is connected to the screen, and disconnect it from the motherboard. Then, unscrewing four screws, remove the screen itself. WiFi cable antenna will continue to connect the laptop screen to its connector you will get later. Lift the keyboard and unplug its ribbon cable. Maybe it will show up additional slots for memory modules - remove and them.
5
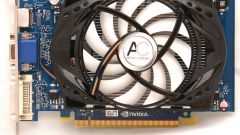
Remove all screws located under the keyboard and on the back side of the laptop. Separate the top cover, gently lift it up and unplug the ribbon cable of the touchpad. After this it will be additional screws that secure the motherboard. They also remove. Remove the motherboard, and if necessary, clean the CPU heatsink. Replace the defective parts (CPU, WiFi module, Bluetooth, video card, etc.). The replacement CPU is not very different from that in a desktop (if the processor inserted in the socket and not soldered). Do not forget then to update the thermal paste.
6
Assemble machine in reverse order, remembering to connect all the cables and screwing all the screws. Turn on the computer and check it.
Note
All the screws put in the box or attach to the magnet. Zarisovyval, what length screws where they were located.