Instruction
1
Make sure that the reason for the failure of the drive hardware, not software. First of all check if you have it enabled in the CMOS Setup program. If you find that your computer settings at anything, buy a special drive designed for installation in a laptop. Normal, for desktop, will not work.
2
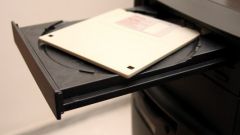
Shut down installed on the laptop operating system. Wait for it auto switch off. Remove the diskette if it is there.
3
Unplug the power supply. Close it screen. Remove the battery.
4
Disconnect the latch (or latches) securing the cassette drive. Pull it together with tape.
5
Take a miniature Phillips screwdriver. With its help, remove the four screws that secure the drive. Save them.
6
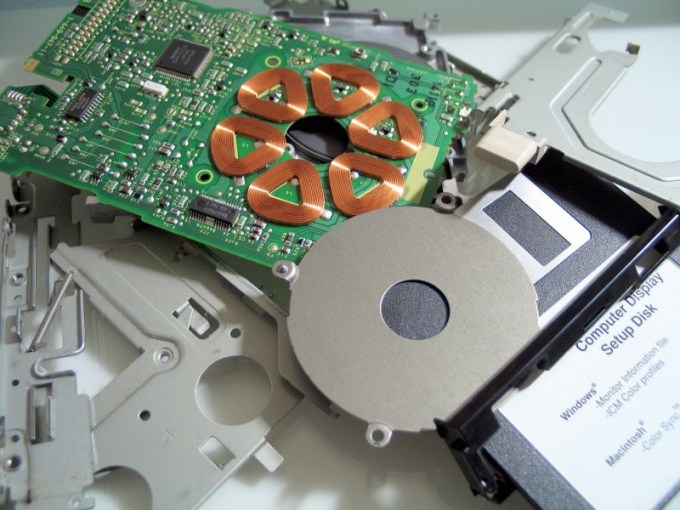
Remove the disk drive from the cassette by moving it in its plane in the opposite direction to the connector built into the cassette adapter.
7
Insert the new tape drive, moving it in the plane of the cassette in the direction of the connector. After fixing the mounting holes should match with the corresponding holes of the cassette. Secure it with the screws that attached the old drive.
8
Install the tape with the new drive back into the laptop. Secure it with latches.
9
Reinstall the battery and plug the laptop power supply.
10
Turn on the computer. Make sure that the new drive has earned.
11
Replacement notebook optical disc drive fully engage in a similar way, with the only difference that it is fixed in the next cassette of a different size. One cassette is attached to the hard drive. It also happens that the drive is connected directly, without the tape, and hard disk and optical drive - through. Note that to connect a hard drive instead of an optical drive, or Vice versa, as in a desktop computer, the laptop will fail.