Instruction
1
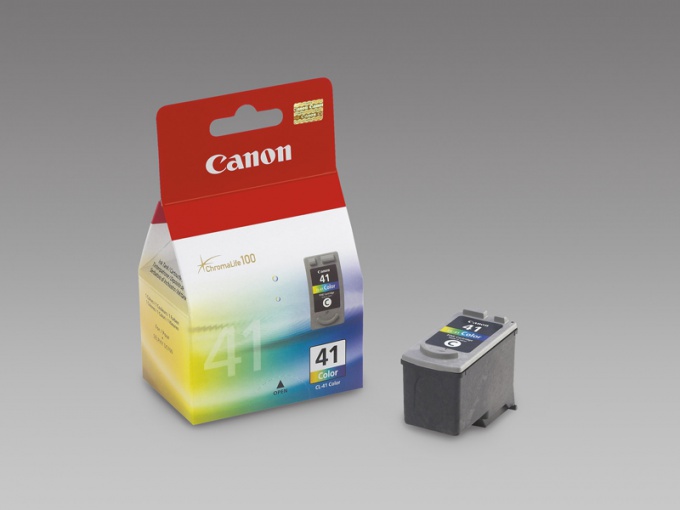
Place the color cartridge Canon CL-41 so that the contact area of the cartridge was tilted away from you. Remove the sticker, placed on the surface of the cartridge. Inside it is divided into three compartments. In the upper compartment are red ink in the lower left – blue, bottom right is yellow. With the help of a drill or an awl do in each of the compartments of the filling hole.
2
Take a disposable syringe, put the needle on it and fill approximately 6 grams of ink of the same color.
3
Insert the syringe needle into the corresponding color of the filling hole. Be careful not to mix up the ink color. Inside the compartment is a sponge – pierce it, but not through, and until about the middle. If you get the needle up to the bottom of the cartridge, subsequent use. it will flow, and this defect will not be repaired.
4
Slowly begin to inject ink. Do not use considerable effort – otherwise you may get a fountain of ink-stained clothing and premises, and to remove them is not so easy. If you notice that the ink begins to flow from the filling hole, immediately stop the process and using a syringe, pull back approximately 1 gram of refillable ink.
5
After filling seal holes with duct tape, electrical tape or the glue gun. The latter option is preferable, since the adhesive securely walled in you have done the filling hole.
6
Using a fine needle puncture a small vent hole in the tape or duct tape. If you used a glue gun, do it near a gas station. This step is required, otherwise the cartridge will not work.
7
After you install the ink cartridges back make some color prints to clean the printheads and check the quality of filling.
Note
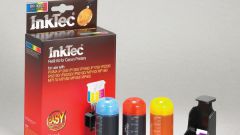
Refill for inkjet cartridges Canon CL-41, CL-51. Insert the thumb from the set of the filling opening, as shown, and turn clockwise not less than 6 times to widen the hole for refilling the cartridge. Repeat the process for holes of all colors. Remove the cap from the ink tanks and put on the needle.
Useful advice
Very slowly fill each of the ink containers in accordance with the colour (CL-38 - 3 ml. each color CL-41 - 4 ml, CL-51 - 6., CL-441 - 3 ml, CL-441XL - 5 ml., CL-511 - 3 ml, CL-513 - 4 ml). 4. Carefully stick the label back exactly as it was before the filling or glue the lid (if you used this method). 5. Put the cartridge under some paper or thick paper.